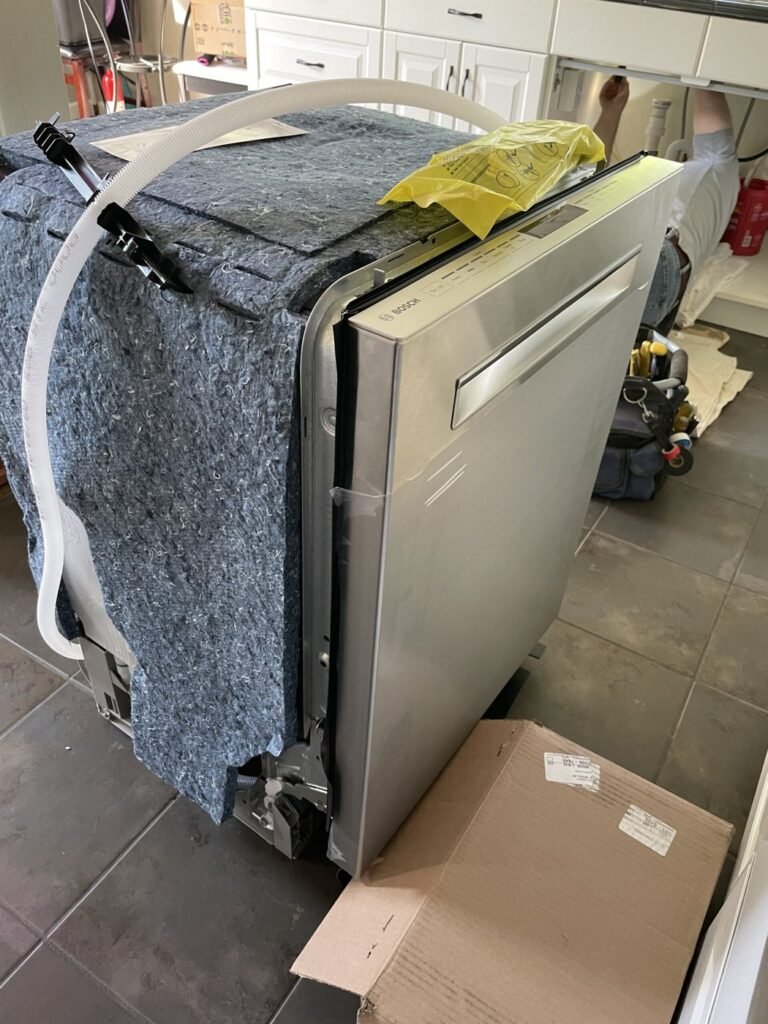
What to Know Before Installing a Dishwasher Yourself
What to Know Before Installing a Dishwasher Yourself
Dishwasher installation is one of the most approachable plumbing-plus-electrical DIY jobs — and paying a pro $150 to $300 for what amounts to three connections feels steep once you know what’s involved. I’ve installed two, and the first took three hours, the second took ninety minutes.
Here’s everything to know before you start, including the mistakes that flood kitchens.
Measure Twice, Buy Once
The critical measurement: the opening. Standard dishwashers need a 24-inch wide, 34-inch tall, 24-inch deep opening — but “standard” varies. Measure your opening’s width at top and bottom (cabinets shift), height from floor to countertop underside, and depth. Measure the new dishwasher’s specs against all three. A quarter-inch too tall is a showstopper; too narrow means cabinet surgery.
Check the connections before buying: is there an existing dishwasher (then water, drain, and electrical are already roughed in — easy swap) or is this a first install (you’ll need to add a water supply tee, drain connection to the disposal or sink tailpiece, and a dedicated 15 or 20-amp circuit — considerably more work)? Also confirm the door swing clears cabinets and the unit slides in without removing flooring — dishwashers install before finished flooring in new construction, so retrofits sometimes need the flooring notched or the unit shimmed.
The Three Connections
Water: connect the 3/8-inch supply line to the dishwasher’s inlet valve via the shutoff under the sink — use a braided stainless line ($12), not plastic. Hand-tighten plus a quarter turn with a wrench; overtightening cracks the plastic inlet. Turn the water on and check for drips before pushing the unit in — this is the step that prevents floods.
Drain: route the drain hose up to the underside of the countertop (the high loop — prevents sink water backflowing into the dishwasher) then to the garbage disposal inlet or sink tailpiece. Knock out the disposal’s drain plug if connecting there (the forgotten plug is the #1 “new dishwasher won’t drain” cause). Electrical: most modern installs use a plug-in cord to a GFCI outlet under the sink; older hardwired setups need the breaker off, wire nuts, and a strain-relief clamp. If you’re not comfortable with the electrical, hire an electrician for just that part ($100) and DIY the rest.
Leveling, Securing, and Testing
Slide the unit in, then level it — front-to-back and side-to-side — using the adjustable feet. An unlevel dishwasher doesn’t drain properly and the door won’t seal right; a $10 torpedo level is all you need. Secure it to the countertop underside or cabinet sides with the mounting brackets (granite/stone counters: use side-mount brackets to avoid cracking the stone).
Before pushing it fully into place, run a test cycle with the unit pulled slightly forward so you can watch all three connections for leaks. Check under the sink, at the inlet valve, and around the door seal. Then push in, secure, attach the toe kick, and run one full cycle empty with detergent. Open mid-cycle once to confirm the door seal holds under pressure. Total time: 2 to 4 hours for a swap, longer for a first install. The feeling of that first silent, leak-free cycle is genuinely great.
Dishwasher Install Checklist
Before, during, and after:
- Measure the opening (width, height, depth) — twice.
- Confirm water, drain, and electrical rough-ins exist.
- Use a braided stainless supply line; don’t overtighten the inlet.
- High-loop the drain hose; knock out the disposal plug.
- Level front-to-back and side-to-side; secure with brackets.
- Test-cycle with the unit pulled forward to watch for leaks.
- Run one full empty cycle with detergent before loading dishes.
The Bottom Line
Installing a dishwasher yourself is very doable — three connections (water, drain, electrical), careful leveling, and a leak test. Budget 2 to 4 hours and save $150 to $300 over professional installation.
Measure obsessively, check for leaks before pushing the unit in, and don’t skip the high loop. Do those three things and the install is smooth.
Dishwasher Problems and Quick Fixes
Most ‘broken dishwasher’ calls are simple fixes. Won’t drain: check the disposal knockout plug (new installs), clean the filter (monthly task most owners never do — it’s usually a twist-out cylinder at the tub bottom), and check the drain hose for kinks. Won’t start: confirm the child lock isn’t engaged, the door latches fully (the switch won’t engage otherwise), and the breaker hasn’t tripped. Dishes not clean: clean the spray arms (poke clear the holes with a toothpick — mineral buildup blocks them), use fresh detergent (it loses potency after 6 months opened), and stop pre-rinsing (modern detergents need food particles to activate properly — just scrape).
Smells: the filter is usually the culprit — remove and scrub it monthly. Run an empty hot cycle with a cup of vinegar on the top rack monthly to dissolve grease and mineral buildup. Check the door gasket for trapped debris. And leave the door cracked after cycles; sealed-in moisture breeds odor. Leaking: usually the door gasket (inspect for tears, $20-$40 replacement), an over-sudsing detergent issue (use less, ensure it’s dishwasher detergent not dish soap — the latter floods kitchens with foam), or a misleveled unit rocking during cycles.
Know when it’s the machine’s time: dishwashers last 9-13 years. If yours needs a $200+ repair past year 8, replacement ($400-$800 for quality units) usually wins economically. Newer models are dramatically more efficient — 3 gallons per cycle versus 10+ for old ones — so the upgrade pays back in water and energy. And the install skills from this guide transfer directly: swapping a dishwasher uses the exact same three connections you just learned.
Quick Answers
Should I pre-rinse dishes?
No — just scrape. Modern detergents need food residue to work properly, and pre-rinsing wastes water. It also makes the sensor think dishes are clean.
Why does my dishwasher smell?
Usually a dirty filter or trapped food in the door gasket. Clean the filter monthly and run a monthly vinegar cycle.
How long should a dishwasher last?
9-13 years. Past year 8, compare repair costs against replacement — new units are far more water and energy efficient.
The water-hammer issue often surfaces after dishwasher installs and alarms new DIYers. If pipes bang when the dishwasher’s valve snaps shut, that’s water hammer — the sudden stop sends a shockwave through the pipes. It’s not dangerous immediately, but it stresses joints over time. The fix is a water hammer arrestor ($15) installed on the dishwasher supply line — a 10-minute addition while you’re already under the sink. If your home has old arrestors (or none), the dishwasher’s fast-acting solenoid valve is often what reveals the problem. It’s a normal part of appliance installation, not a mistake — but don’t ignore the banging; arrestors are cheap insurance for your pipes.
Further reading: the Consumer Product Safety Commission on appliance installation, Energy Star dishwasher guidance.