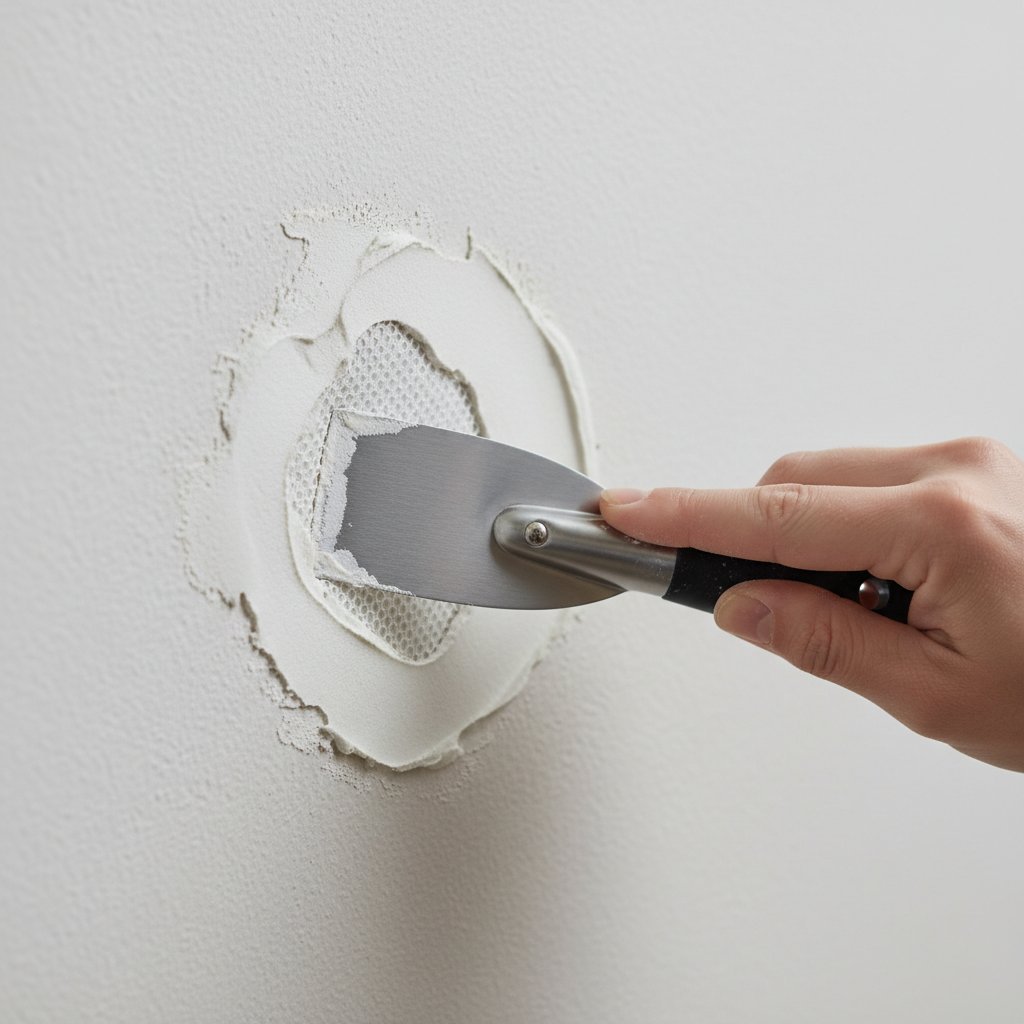
The Best Way to Patch a Hole in Drywall
The Best Way to Patch a Hole in Drywall
Drywall holes happen — doorknobs, moving furniture, enthusiastic toddlers. The good news: drywall is one of the most forgiving materials to repair. With the right method for the hole size, patches become genuinely invisible. I’ve patched everything from nail holes to a full doorknob-through-the-wall disaster.
Here’s the method for every size.
Small Holes: Nail Holes and Dings
For nail holes, screw pops, and small dings under half an inch: lightweight spackle ($5 a tub) and a putty knife. Press spackle into the hole, scrape flush with the knife held nearly flat, let it dry (30-60 minutes), sand lightly with 120-grit, and paint. Two thin applications beat one thick one — thick spackle shrinks and cracks as it dries.
Screw pops (those little bumps where drywall screws push through) need one extra step: drive the old screw deeper or add a new screw an inch away to secure the drywall, then spackle over. If you just spackle without securing, the pop returns. For textured walls, match the texture after patching — orange-peel texture in a $12 spray can blends small patches invisibly. Prime the patch before painting or the paint absorbs unevenly and flashes.
Medium Holes: The Doorknob Special (2-6 Inches)
For holes 2 to 6 inches — the classic doorknob punch — use a self-adhesive mesh patch ($5 for a multi-pack). Stick the mesh over the hole, spread joint compound over it with a 6-inch knife, feathering the edges 2-3 inches beyond the patch. Let it dry completely (it turns from dark to white), sand lightly, apply a second thinner coat wider than the first, sand again, and paint.
The California/hot patch method is the pro alternative: cut a drywall square 2 inches larger than the hole, score the back and peel away the gypsum leaving a paper flange, mud the flange and press it into the hole. It needs no backing and feathers beautifully. Either method takes about 30 minutes of active work plus drying time. The secret to invisibility is feathering — the compound should taper so gradually you can’t feel the edge with your palm.
Large Holes: Cut, Back, and Patch (6+ Inches)
For holes larger than 6 inches, cut a clean rectangle around the damage with a drywall saw, extending to the centers of the nearest studs on each side. Cut a matching drywall piece ($12 for a 2×2 sheet — plenty), screw wood backing strips inside the opening if the hole doesn’t span studs, screw the patch to the studs/backing, tape the seams with paper tape (stronger than mesh for large patches), and apply three coats of joint compound, each wider than the last, sanding between coats.
This sounds like a lot, but it’s genuinely a 45-minute job plus drying time. The three-coat system (tape coat, fill coat, finish coat) is what makes large patches disappear — each coat feathers wider until the repair melts into the wall. Prime and paint the whole wall section corner to corner if the paint is old; touching up just the patch on aged paint almost always shows. And install a $5 door stop so you never patch this hole again.
Drywall Patching by Hole Size
Match the method to the hole:
- Under 1/2 inch: spackle, sand, paint. 15 minutes.
- 1/2 to 2 inches: spackle in two thin coats; secure screw pops first.
- 2 to 6 inches: self-adhesive mesh patch + 2 coats of compound.
- Alternative: California patch for cleaner feathering.
- 6+ inches: cut to studs, screw in patch, tape, 3 coats feathered wide.
- Always: prime before painting; feather edges until invisible to touch.
- Prevent repeats: $5 door stops behind every swinging door.
The Bottom Line
The best way to patch drywall depends on size: spackle for small, mesh patches for medium, cut-and-patch for large. The universal secrets are thin coats, wide feathering, and priming before paint.
It’s a skill that pays off forever — rental move-outs, kid damage, DIY mishaps. Learn it once and every wall in your life stays perfect.
Texturing and Matching: The Invisible Repair
The patch is only half the job — matching the wall texture is what makes repairs truly invisible. Orange-peel (the most common): spray-can texture ($12) applied in light passes from 2-3 feet away, then knocked down lightly with a taping knife after 5-10 minutes if needed. Practice on cardboard first; the technique is 30 seconds to learn but the can’s pressure varies. Light coats, build gradually — you can add texture, but removing excess means re-sanding.
Knockdown texture: apply the spray heavier, wait 10-15 minutes until tacky, then flatten lightly with a wide taping knife held nearly flat. Smooth walls: the easiest — just sand the patch perfectly smooth and it’ll match. Popcorn ceilings (for ceiling patches): matching is genuinely hard; spray-can popcorn texture exists but rarely matches aged patterns perfectly. For ceilings, consider that a full re-texture of the room ($200-$400 professionally) sometimes beats a visible patch — or use the repair as the excuse to finally scrape the popcorn (check for asbestos first in pre-1980 homes).
The paint factor: even a perfect texture match shows if the paint doesn’t blend. Prime the patch (mandatory — joint compound absorbs paint differently), then paint the repair plus feathering several inches beyond. For best results on aged walls, paint the entire wall corner-to-corner; touch-ups on old paint almost always flash visibly because paint fades and sheens shift over time. Keep leftover paint from the original job labeled by room — the $0 touch-up beats the $40 gallon plus the color-matching gamble.
Quick Answers
How do I match orange-peel texture?
Spray-can texture in light passes from 2-3 feet, practiced on cardboard first. Build gradually — light coats are forgiving.
Should I prime before painting a patch?
Always — joint compound absorbs paint differently than the surrounding wall, causing visible ‘flashing’ without primer.
Can I patch textured walls seamlessly?
Yes for orange-peel and knockdown with spray texture and practice. Popcorn ceilings are the hardest — sometimes a full re-texture is the better answer.
The corner-bead consideration applies when your hole is near a wall corner or edge. Standard flat patches don’t work on corners — the corner bead (the metal or vinyl strip forming the crisp edge) is structural to the corner’s shape. For corner damage, use a corner patch technique: cut back to expose solid bead, attach new corner bead section with spray adhesive and screws, then mud and feather like a flat patch but working both wall faces. It’s slightly more involved but the same principles apply. And the lesson for prevention: corner guards ($5 each) on high-traffic corners — hallways, behind doors — prevent the damage that requires the repair. An ounce of corner guard beats a pound of corner patching.
Further reading: This Old House drywall repair guides, Family Handyman drywall fixes.