How to Build a Gaming PC for Under $800 (2026)
Eight hundred dollars. That is the magic number where a gaming PC goes from “compromised” to “genuinely great” — capable of 1080p high-settings gaming at 60+ fps in virtually every modern title, with an upgrade path that keeps it relevant for years. Prebuilt manufacturers will sell you less for more; building it yourself at $800 gets you a machine that embarrasses $1,000+ prebuilts.
This 2026 guide gives you a complete $800 gaming PC parts list, explains why each part was chosen, walks through the build process for first-timers, and shows you where to save versus splurge. No prior experience assumed — if you can follow instructions and handle a screwdriver, you can build this.
The $800 Parts List (2026)
Prices fluctuate, so treat these as targets and watch for sales — but this configuration represents the current $800 sweet spot:
CPU: AMD Ryzen 5 5600 (~$130). Six cores, twelve threads, unbeatable value. It games within a few percent of CPUs costing twice as much and sips power. The included Wraith Stealth cooler is adequate — no aftermarket cooler needed at this budget.
GPU: AMD Radeon RX 7600 or NVIDIA RTX 4060 (~$270-$300). The heart of the build. Both deliver excellent 1080p performance; the RX 7600 typically offers slightly better raw fps per dollar, while the RTX 4060 adds DLSS and better ray tracing. Buy whichever is cheaper when you shop — the difference is marginal. This single component determines 70% of your gaming performance; allocate accordingly.
Motherboard: B550M (~$90-$110). A solid micro-ATX B550 board gives you everything needed — PCIe 4.0 for the GPU, M.2 slots, decent VRMs for the 5600. Do not overspend here; a $200 board adds zero fps.
RAM: 16GB DDR4-3200 (~$35-$45). 16GB remains the gaming sweet spot; 32GB is a luxury at $800. Get a 2x8GB kit for dual-channel performance — single-stick 16GB measurably hurts fps.
SSD: 1TB NVMe PCIe 3.0/4.0 (~$55-$70). Non-negotiable in 2026 — modern games stutter on hard drives. 1TB fits Windows plus 6-8 major games; add storage later.
PSU: 550-650W 80+ Bronze (~$60-$75). From a reputable brand (Corsair, EVGA, Seasonic). Never cheap out on the power supply — a bad PSU can kill every other component. 550W is plenty for this build with headroom.
Case: (~$50-$70). Any mesh-front case with decent airflow. Aesthetics are personal; airflow is not optional. The PCPartPicker compatibility checker is essential — plug in your parts to catch conflicts before ordering.
Where to Save vs. Where to Splurge
Splurge on: the GPU, always. Every dollar moved from elsewhere to the GPU buys gaming performance. A $300 GPU with a $130 CPU beats a $200 GPU with a $250 CPU in every game that matters. Second priority: the power supply — reliability insurance for the whole system.
Save on: the motherboard, case, and RGB. A B550M board performs identically to a premium board for gaming. Case fans beyond two or three add noise, not fps. RGB lighting is a tax on aesthetics — pretty, but it does not render a single frame. Skip the aftermarket CPU cooler at this budget; the stock cooler is fine for a 65W Ryzen.
The used-market option: A used previous-gen GPU (RTX 3060 Ti, RX 6700 XT) can stretch $800 further — sometimes 20% more performance per dollar. Buy from sellers with return policies, stress-test immediately on arrival, and avoid cards that were obviously mined on (though undervolted mining cards are often fine — the fear exceeds the reality).
Building It: First-Timer Walkthrough
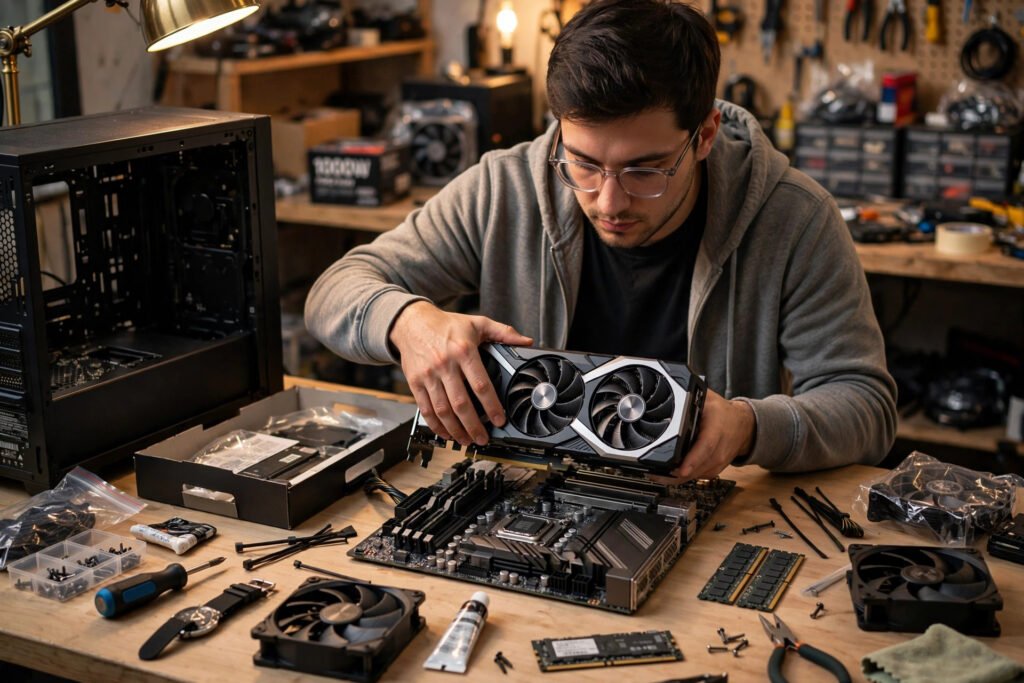
Set aside 2-3 hours, clear a large table, and ground yourself occasionally by touching the case (static damage is rare but real). The order: 1) Install CPU, RAM, and M.2 SSD onto the motherboard before it goes in the case — much easier on a flat surface. The CPU drops in one way only; never force it. 2) Mount the motherboard in the case with standoffs pre-installed. 3) Install the PSU and route its cables. 4) Seat the GPU in the top PCIe slot until it clicks, secure with screws, connect PCIe power cables. 5) Connect front-panel headers (the fiddly bit — consult the motherboard manual diagram), case fans, and storage. 6) Double-check every power connection, then first boot.
If it does not boot: do not panic. Reseat the RAM (the #1 first-build issue), check the 8-pin CPU power cable (the #2 issue — builders forget it constantly), verify the GPU power cables, and confirm the monitor is plugged into the GPU, not the motherboard. Tom’s Hardware build guides have photo walkthroughs for every step.
After booting: install Windows (the free version works indefinitely with a watermark; a key costs ~$15 from gray-market sellers or $140 retail), update the BIOS, install GPU drivers directly from AMD/NVIDIA (not Windows Update), enable XMP/EXPO in BIOS for full RAM speed (free performance most builders forget), and run a stress test to verify stability.
What $800 Gets You (and the Upgrade Path)
Expect: 1080p high/ultra at 60-100+ fps in AAA titles, 1440p medium-high at 60 fps in most games, excellent esports performance (200+ fps in Valorant, CS2, Fortnite at competitive settings), and fast load times from the NVMe SSD. This is not a compromise machine — it is a genuinely good gaming PC.
The upgrade path is the real value: the AM4 platform lets you drop in a Ryzen 7 5800X3D later (the legendary gaming CPU, often available under $250) for a massive CPU uplift with zero other changes. Add 16GB more RAM, a 2TB SSD, and eventually a next-gen GPU — each upgrade is independent, spreading costs over years. A console cannot do this; a prebuilt with proprietary parts cannot do this easily. Your $800 investment grows instead of depreciating.
Keep it running well: optimize your home network for gaming to cut lag, and learn why systems slow down after updates so you can distinguish software issues from hardware ones — dust is the silent performance killer, but it is not the only one. And if you are deciding between platforms entirely, weigh this build against console value honestly: at $800, the PC wins on performance, versatility, and cheaper games, while consoles win on simplicity.
Conclusion
An $800 self-built gaming PC in 2026 — Ryzen 5 5600, RX 7600/RTX 4060, 16GB RAM, 1TB NVMe — delivers superb 1080p gaming that embarrasses prebuilts costing hundreds more, with an upgrade path that extends its life for years. Put the money in the GPU, do not cheap out on the PSU, follow the build order, and enable XMP. Three hours of building buys you years of great gaming.
Frequently Asked Questions
Can you build a good gaming PC for $800 in 2026?
Yes. $800 buys a Ryzen 5 5600 + RX 7600/RTX 4060 build that handles 1080p high/ultra at 60-100+ fps in modern AAA games — genuinely good performance, not a compromise.
What is the most important part in a budget gaming PC?
The graphics card, by far — it determines roughly 70% of gaming performance. Allocate the largest share of your budget to the GPU, then ensure the CPU will not bottleneck it.
Is it hard to build a PC for the first time?
No. Modern parts are keyed to fit one way, and countless video guides walk through every step. Budget 2-3 hours, follow the manual diagrams, and the most common issues (unseated RAM, forgotten CPU power cable) take minutes to fix.
Should I buy a prebuilt or build my own for $800?
Build your own. $800 prebuilts typically include weaker GPUs, single-channel RAM, and proprietary parts that block upgrades. Self-built gets you 20-40% more performance per dollar plus a real upgrade path.
How long will an $800 gaming PC last?
3-5 years of good 1080p gaming as built, extendable to 6-8 years with targeted upgrades (CPU to 5800X3D, more RAM/storage, eventual GPU swap) thanks to the AM4 platform’s upgrade headroom.