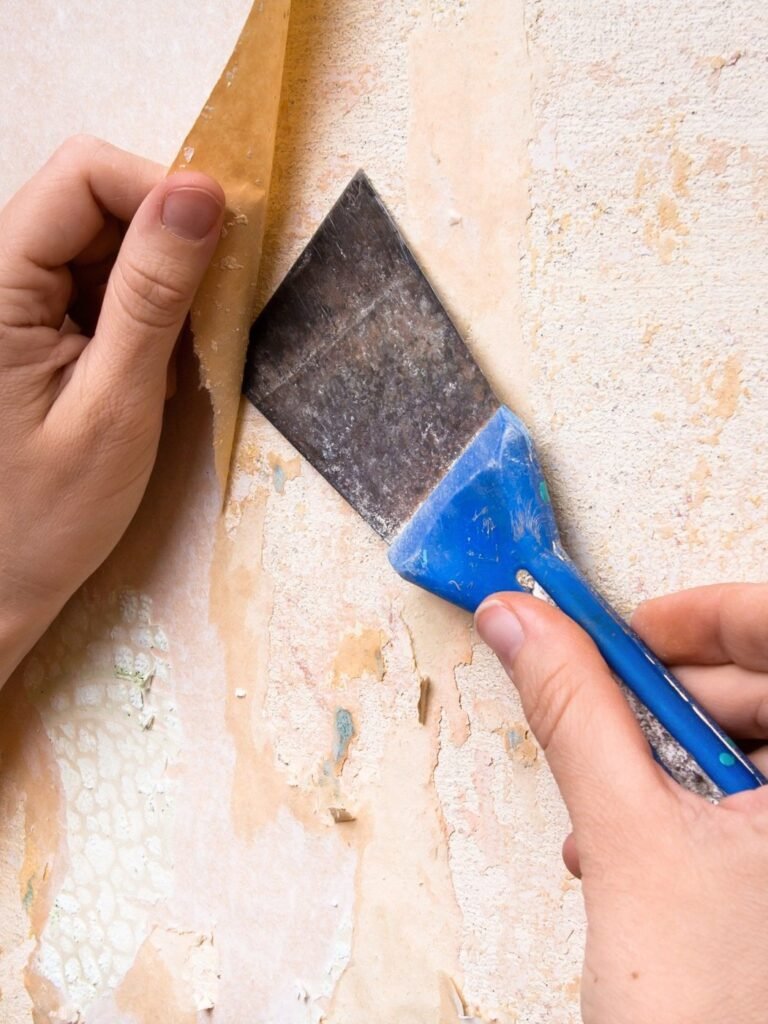
How to Remove Wallpaper Without Damaging the Drywall
How to Remove Wallpaper Without Damaging the Drywall
Old wallpaper is a special kind of home improvement dread — everyone has a horror story about the wall that came off with the paper. But drywall damage during wallpaper removal is almost always caused by impatience, not the wallpaper. Done right, the paper comes off and the wall stays intact.
Here’s the methodical approach that works, including what to do when the wallpaper fights back.
Prep and the Peel Test
Start by clearing the room and laying drop cloths — this gets wet and messy. Turn off power to outlets and switches on the walls you’re working on (you’ll be using water and steam near them). Then do the peel test: find a loose corner or seam, usually near a baseboard, and pull gently at a low angle. Some modern wallpapers (especially peel-and-stick or vinyl-coated) come off in satisfying full sheets, leaving minimal backing.
If the top layer peels off leaving a papery backing stuck to the wall, that’s normal — you’ll deal with the backing separately. If nothing budges, don’t force it; move to scoring and moisture. And test a hidden spot first to see what’s under there: painted drywall is ideal, but some walls hide unprimed drywall (the paper facing tears easily) or even plaster. Knowing your surface changes how aggressive you can be.
The Scoring, Steam, and Scrape Method
For stubborn paper, the sequence is: score, wet, wait, scrape. Use a scoring tool ($10 — a circular gadget with tiny wheels) to perforate the wallpaper surface lightly; this lets moisture penetrate. Don’t press hard — you’re perforating the paper, not the drywall. Then apply hot water mixed with a wallpaper removal solution (or fabric softener in a pinch) using a pump sprayer or sponge, working in 4-foot sections.
Let it soak 10 to 15 minutes — this is where patience pays. The adhesive needs time to soften. Then scrape gently with a wide plastic putty knife, keeping the blade nearly flat against the wall to avoid gouging. For really stubborn jobs, rent a wallpaper steamer ($50 to $70 a day) — the steam melts adhesive fast and it’s oddly satisfying. Work top to bottom, section by section, and re-wet anything that resists rather than forcing it. Forcing is how drywall gets damaged.
Repairing and Prepping the Bare Wall
Once the paper’s off, wash the walls with a TSP substitute or warm water with a little dish soap to remove every trace of adhesive — leftover paste bleeds through new paint and causes peeling. Let the walls dry completely, then inspect. Small nicks and gouges get spackle; sand smooth when dry. If the drywall paper facing tore (brown fuzzy spots), seal those areas with an oil-based or shellac primer before skim-coating — water-based products make torn facing bubble.
Before painting or re-papering, prime the entire wall. Freshly stripped drywall is thirsty and uneven; primer seals it so your topcoat goes on uniformly. If the wall is rough after all the scraping, a thin skim coat of joint compound over the whole surface (or hiring it out for $2 to $4 per square foot) gives you a like-new finish. It’s extra work, but it’s the difference between walls that look stripped and walls that look intentional.
Wallpaper Removal Toolkit
Gather these before you start:
- Scoring tool ($10) — perforate lightly, don’t gouge.
- Pump sprayer, hot water, and wallpaper removal solution.
- Wide plastic putty knife — keep the blade nearly flat.
- Wallpaper steamer rental ($50-$70/day) for stubborn jobs.
- Drop cloths, TSP substitute, sponges, and buckets.
- Spackle, sandpaper, and primer for repairs after.
- Patience — the soak time is not optional.
The Bottom Line
Removing wallpaper without damaging drywall comes down to moisture, patience, and a flat scraper angle. Score lightly, soak thoroughly, scrape gently, and never force what isn’t ready to come off.
The wall underneath is almost always salvageable. Wash off the paste, patch the nicks, prime everything, and you’ll have a clean slate — plus the satisfaction of conquering the most dreaded DIY job there is.
Dealing With Multiple Layers and Surprises
Old houses often hide wallpaper archaeology — three, four, even five layers, each glued to the last. When you find multiple layers, adjust expectations: this is now a multi-day project, not an afternoon. Work one layer at a time, re-wetting between layers. The steamer earns its rental fee here. And be grateful for each layer that comes off cleanly — they’re not all cooperative. Some renovators find newspaper from the 1940s used as backing; it’s a fun discovery that also means extra-soaking that section.
The unpleasant surprise: wallpaper installed directly over unprimed drywall. The paper facing of the drywall bonds to the wallpaper paste, and removal tears the facing. If you see brown, fuzzy drywall paper coming off with the wallpaper, stop forcing it — switch to extra steam and minimal scraping pressure, accepting that skim-coating will be needed afterward. In the worst cases, it’s faster to cut out and replace the damaged drywall sections than to fight them. A 4×8 sheet of drywall is $15; your weekend has value too.
Another common find: wallpaper over damaged walls that the paper was hiding — cracks, bad patches, even holes. Don’t panic; this is normal in old houses and all fixable with the standard patch-prime-paint sequence. Document everything with photos as you go (useful for insurance if you find real damage, and satisfying for before/after). And if you discover the walls are plaster, not drywall — congratulations, plaster is tougher and more forgiving of aggressive removal. Steam away with confidence.
Quick Answers
Can I just paint over wallpaper?
You can, but it’s a compromise — seams and texture show through, and future removal becomes much harder. Removal is better if the paper is loose or textured.
How do I know if there’s lead paint under old wallpaper?
Homes pre-1978 may have lead paint layers. A $25 test kit gives quick results. If positive, follow EPA RRP safety procedures.
Will a steamer damage drywall?
No, if used correctly — keep it moving, don’t oversaturate one spot. Drywall handles steam fine; it’s prolonged soaking and aggressive scraping that cause damage.
The primer-sealer step after stripping deserves emphasis because skipping it causes the most common post-removal failure: old paste residue bleeding through new paint. Even after washing, microscopic adhesive remains in the drywall’s pores, and it reactivates under latex paint, causing yellow-brown bleed-through and adhesion failure weeks later. An oil-based or shellac-based primer-sealer ($25/gallon) locks down all residue permanently — it’s the insurance policy on your paint job. One coat, applied after walls are fully dry and repaired, and your topcoat goes over a sealed, uniform surface. This $25 step protects the $200 in paint and the weekend of labor on top of it.
Further reading: This Old House wallpaper removal guide, Family Handyman wall repair guides.