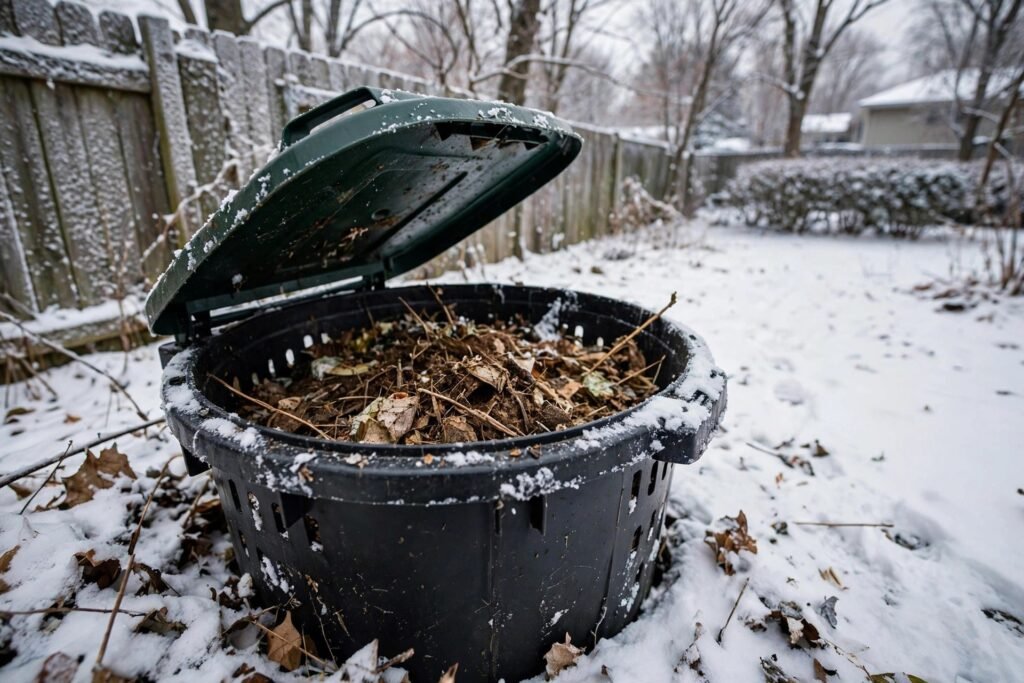
How to Start Composting in Winter Climates: The Cold-Weather Method
Composting in July is easy — warmth does the work. Composting in January, when the pile is a frozen brick and the kitchen scraps keep coming, is where most cold-climate composters quit. But winter composting is entirely possible, and it has a secret advantage: the freeze-thaw cycle actually accelerates breakdown by rupturing cell walls, so spring finds your pile further along than you would expect. The key is adapting your method to the cold rather than fighting it. Here is how to keep composting through winter in cold climates — outdoors, indoors, and the hybrid approaches that work best.
Winter Outdoor Composting: The Insulated Pile Method
An outdoor pile can stay biologically active well below freezing if it is big enough — thermal mass is everything. The critical size is 3×3×3 feet minimum; smaller piles freeze solid, larger ones maintain a steaming core even at 0°F. Build or buy a two-bin system so one side “cooks” undisturbed while you add to the other. Insulate the active bin: surround it with straw bales, bagged leaves, or stacked snow (snow is an excellent insulator — the pile-igloo method works).
Winter feedstock strategy shifts: stockpile “browns” (shredded leaves, cardboard, wood chips) in fall — you will need far more carbon than summer, roughly 3:1 browns to greens, because nitrogen-rich scraps freeze into smelly layers without enough absorbent carbon. Chop scraps small (frozen chunks thaw slowly), bury each addition deep in the pile’s warm center, and cover with a thick brown layer. Turn less — every turn loses precious heat; once a month maximum, and only on milder days. A compost thermometer ($15) tells you the real story: above 90°F in the core means the biology is working despite the weather. Kitchen discipline matters year-round — reducing kitchen food waste means less material to manage in the depths of February.
The Lasagna Layer Trick
When the pile surface freezes, switch to lasagna layering: alternate frozen scrap layers with thick brown layers without turning. The pile becomes a stratified time capsule that activates explosively in spring thaw — crude but remarkably effective, and zero winter labor beyond layering.
The Cold-Frame and Tumbler Options
Enclosed tumblers have a winter trade-off: they are neater and pest-proof, but their small volume freezes faster than big piles — most stall below 20°F. If you use one, insulate it (wrap in bubble wrap or move to a sheltered spot), keep it full, and accept that it becomes cold storage until spring. Insulated tumblers (double-walled models) perform meaningfully better and are worth the premium in zones 5 and below.
The cold-frame composter — a simple wooden box with a clear lid — captures solar gain on sunny winter days, often keeping the interior 20–30°F above ambient. It will not cook actively all winter, but it extends the active season by months on both ends. For apartment and small-space winter composters, indoor worm bins and bokashi (which work year-round regardless of weather) are the reliable answer — the outdoor pile becomes the spring destination for their output, not the winter workhorse. And keeping the whole operation tidy in winter is easier when the house itself is sealed against drafts — the same weatherproofing mindset applies to the compost setup.
What NOT to Compost in Winter (and Common Mistakes)
Winter amplifies every composting mistake. Meat, dairy, and oils — risky in summer — become rodent magnets in winter when animals are desperate; keep them out of outdoor piles entirely (bokashi handles them indoors). Do not add ashes from treated wood or coal (toxins concentrate). Avoid letting the pile go anaerobic: the classic winter failure is a soggy, matted, stinking mass in spring — prevented by the heavy brown layers and drainage underneath (pallets or coarse branches as a base).
The biggest mistake is abandonment: stopping additions in November and expecting magic in April. A neglected pile does not compost — it just sits. Even minimal winter maintenance (layering scraps with browns monthly) produces a pile that finishes weeks earlier in spring. The second mistake is turning too often, venting the core heat you worked to build. Winter composting rewards the lazy composter: layer, insulate, and leave it alone.
Spring Payoff: Harvesting Winter’s Work
Come April, the reward arrives: the freeze-thawed material breaks down with shocking speed once temperatures rise — many winter composters harvest finished compost by late May from material that sat “dormant” all winter. Sift the finished pile, return the chunky bits as the starter for next year’s bin (inoculating it with established microbes), and top-dress garden beds with the black gold just as planting season opens.
Track what worked: note your pile’s winter core temperatures, which insulation method you used, and how the spring finished product looked. Each winter teaches the next — cold-climate composting is a skill that compounds, and by year three you will have a personalized system that runs itself. The spring garden, fed by winter’s patient work, is the proof that the cold months were never downtime at all.
Composting Science From the EPA and Extension
Winter composting questions have authoritative answers. The EPA’s home composting guide covers the fundamentals — carbon-nitrogen ratios, moisture, and aeration — that determine whether a winter pile merely survives or actively cooks, plus what never belongs in the bin. For cold-climate specifics, the University of Minnesota Extension’s winter composting resources address frozen-pile management with northern-winter precision, including how snow cover insulates and when spring turning should begin. Between the federal fundamentals and the regional cold-climate expertise, every winter composting question has a researched answer.
One extension finding worth highlighting: piles that maintain a 3:1 brown-to-green ratio through winter resume active composting 3–4 weeks earlier in spring than nitrogen-heavy piles, because the carbon structure preserves the air pockets microbes need when thaw arrives. Winter success is designed in fall — stockpile those leaves.
Conclusion
Starting composting in winter climates means thinking in seasons: build thermal mass with a big insulated pile, stockpile browns in fall, layer instead of turning, and let freeze-thaw do half the work. Supplement with indoor worm or bokashi systems for the coldest months. Winter does not stop composting — it just changes the method. Work with the cold, and spring will hand you the finest compost of the year.
Frequently Asked Questions
Will my compost pile freeze solid in winter?
Small piles will; a 3×3×3-foot insulated pile maintains an active core well below 0°F. Size and insulation are everything — below the critical mass, the pile becomes cold storage until spring, which still works, just slower.
Can I keep adding scraps all winter?
Yes — bury each addition in the pile’s center with heavy brown cover. Chopped scraps in small amounts decompose fastest; large frozen chunks wait for spring. Never leave scraps exposed on top (pests, odor, and freezing).
Do I need to turn the pile in winter?
Rarely — monthly at most, and only on mild days. Every turn vents core heat. The lasagna-layer method (alternating scraps and browns without turning) is the legitimate low-effort winter technique.
Is bokashi better than outdoor composting in winter?
For apartments and small spaces, yes — it works identically year-round indoors. For houses with yards, run both: bokashi handles daily scraps through winter, and its output finishes in the outdoor pile come spring. They complement perfectly.