How to Season a Cast Iron Skillet for the First Time
How to Season a Cast Iron Skillet for the First Time
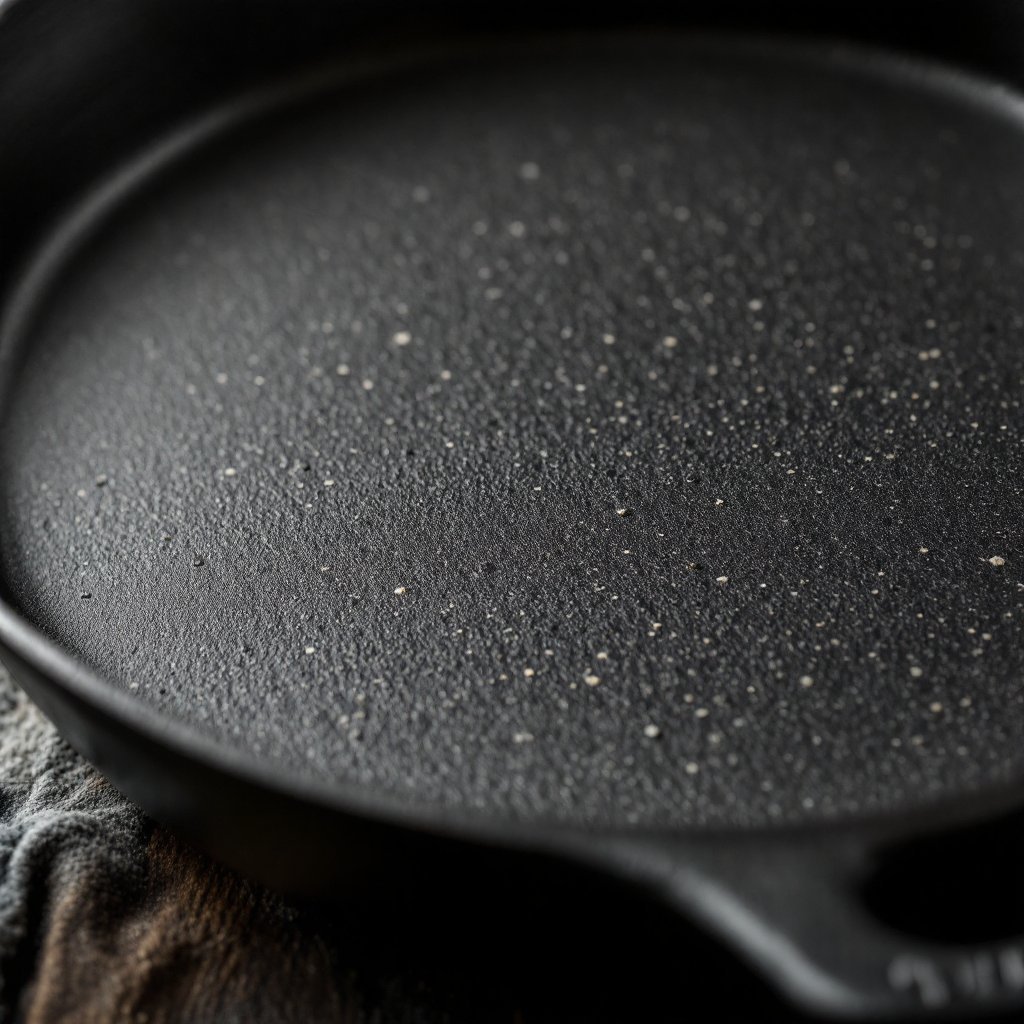
Learning how to season a cast iron skillet for the first time sounds intimidating — the internet is full of contradictory rituals involving flaxseed oil, six-hour oven cycles, and near-mystical language. Here’s the reality: seasoning is just baked-on oil, and the process is simple. Most new skillets come pre-seasoned from the factory, so “first-time seasoning” is really about building on that foundation. I’ve restored rusty flea-market pans and seasoned new ones, and the method below is the straightforward version that works.
What Seasoning Actually Is
Seasoning isn’t a coating you apply — it’s a chemical reaction. When oil is heated past its smoke point on iron, it polymerizes: the oil molecules link into a hard, plastic-like layer bonded to the metal. Each layer is microscopically thin; dozens of layers built up over time create the slick, nonstick surface of a well-used pan. That’s why a 50-year-old skillet outperforms a new one — it’s not better iron, it’s 50 years of polymerized oil. You’re not “applying nonstick”; you’re starting a process that cooking itself continues.
Do You Even Need to Season a New Skillet?
Probably not immediately. Lodge and most major brands ship pre-seasoned — the pan is ready to cook. What a new pre-seasoned pan needs is USE, not oven rituals: cook with fats (bacon, fried chicken, cornbread, roasted vegetables) for the first few weeks and the seasoning builds naturally. Manual oven seasoning helps if: the pan arrived unseasoned (some specialty brands), you’re restoring an old pan, or the factory seasoning is patchy. Otherwise, cook.
The First-Time Seasoning Method (If Needed)
- Wash and dry completely. Hot soapy water is fine (the “never use soap” rule is outdated — modern dish soap doesn’t strip polymerized seasoning). Dry on the stove over low heat until bone-dry; water is the enemy.
- Apply oil — thinly. Rub a high-smoke-point oil (vegetable, canola, or Crisco) over the entire pan, inside and out, including the handle. Then wipe it ALL off with a clean cloth until the pan looks dry. This is the critical step: the layer should be microscopically thin. Too much oil = sticky, gummy pan.
- Bake upside down. Place upside down in a 450-500°F oven (above the oil’s smoke point) for 1 hour. Put foil on the rack below to catch drips.
- Cool in the oven. Let it cool completely before handling.
- Repeat 2-3 times for a solid foundation. Then cook with it — real cooking builds seasoning faster than oven cycles.
Oil Choice (Stop Overthinking This)
The internet wars over flaxseed vs. grapeseed vs. Crisco are overblown. Flaxseed creates a hard layer that looks beautiful but flakes off with use — it’s the worst practical choice despite the prettiest initial results. Plain vegetable oil, canola, or Crisco work perfectly and are cheap. What matters infinitely more than the oil type: the THINNESS of the coat. A thin coat of any oil beats a thick coat of the “best” oil. For everyday cooking oil guidance, the same neutral oils apply.
Daily Care (Simpler Than You Think)
- Clean while warm: Hot water, stiff brush or chain-mail scrubber. Soap is fine.
- Dry immediately: On the stove over heat. Never air-dry — rust.
- Oil lightly after drying: A teaspoon of oil wiped around while warm. Takes 10 seconds.
- Cook with fats regularly: The best maintenance is use. A pan cooked in weekly stays seasoned; a pan stored for months doesn’t.
- Acidic foods (tomatoes, wine): Fine in a well-seasoned pan for normal cooking times. Don’t simmer tomato sauce for 3 hours in a brand-new pan — but weeknight thirty-minute meals with some tomato are no problem.
The Takeaway
First-time seasoning: wash, dry completely, wipe on the thinnest possible oil coat, bake upside down at 450°F+ for an hour, repeat 2-3 times — then cook with fats and let real use build the rest. Thin coats, high heat, and regular cooking are the entire secret. Your grandkids will fight over this pan. And once it’s seasoned, it’s the best tool for reheating pizza and searing steaks.
Frequently Asked Questions
Can I use soap on cast iron?
Yes — the “no soap” rule dates to when soap contained lye, which does strip seasoning. Modern dish soap is gentle and doesn’t touch polymerized oil. What actually damages seasoning: soaking for hours, dishwasher cycles, and harsh abrasives used aggressively. A normal wash with soap, prompt drying, and a light oiling is the correct routine. Lodge (the biggest cast iron maker) officially says soap is fine. The myth persists because it sounds authoritative, not because it’s true.
Why is my cast iron sticky after seasoning?
Too much oil — the #1 seasoning mistake. If the oil coat is too thick, it can’t fully polymerize in the oven time, leaving a gummy, sticky residue instead of a hard layer. Fix: scrub the sticky layer off with hot water and a stiff brush (or oven cleaner for severe cases), then re-season with a truly thin coat — wipe it until the pan looks completely dry before baking. The pan should never look “oily” going into the oven. Thin is everything.
How do I remove rust from cast iron?
Surface rust is fixable: scrub with steel wool or a 50/50 vinegar-water soak (30-60 minutes max — longer soaks pit the iron), then wash, dry completely on heat, and re-season 2-3 coats. Deep pitting won’t fully smooth out, but the pan remains usable — seasoning fills minor imperfections over time. A rusty flea-market pan is often a great find, not a lost cause: vintage iron (Griswold, Wagner) is lighter and smoother than most modern pans. Rust is a setback, not a death sentence.
Can I cook eggs in cast iron?
In a well-seasoned pan: absolutely — it’s one of the great pleasures. In a brand-new pan: wait a few weeks of regular fatty cooking first. The keys for eggs: preheat the pan properly (medium-low, a few minutes), use enough butter or oil, and don’t try to move the eggs until they release naturally. If eggs stick, the pan needed more preheat or more fat — not more seasoning. A well-maintained cast iron skillet handles scrambled eggs beautifully once you learn its heat.