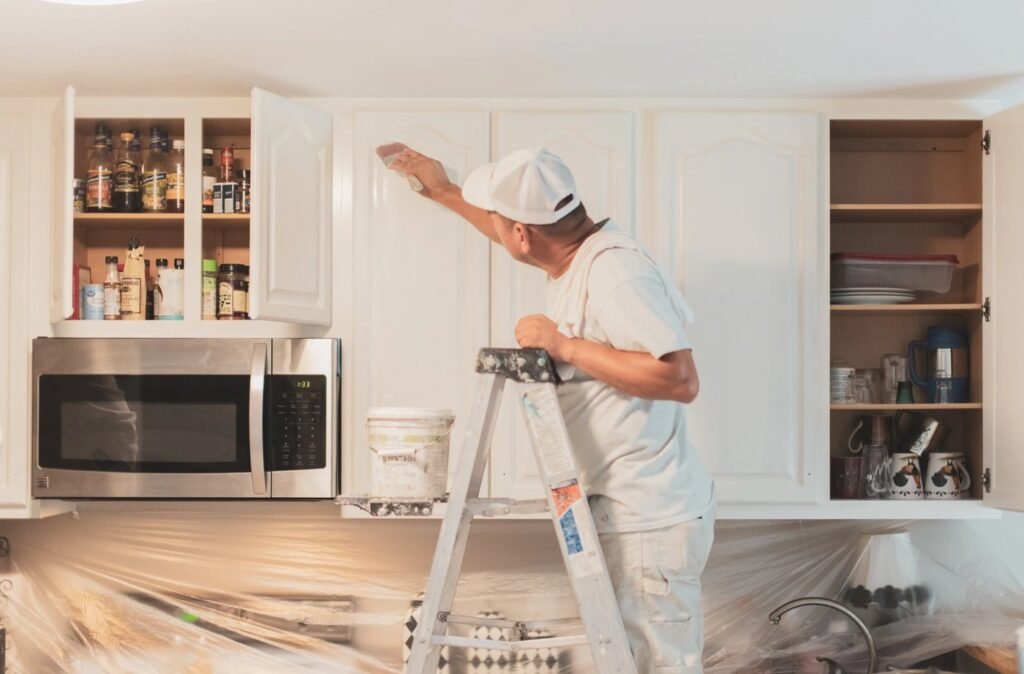
How to Paint Kitchen Cabinets So the Finish Actually Lasts
How to Paint Kitchen Cabinets So the Finish Actually Lasts
Nothing’s sadder than beautifully painted kitchen cabinets that start chipping in six months. And it happens constantly — because the difference between a 10-year finish and a 10-month finish isn’t the paint color, it’s the prep nobody wants to do. I’ve painted cabinets both ways. The shortcut version looked great for exactly one season.
Here’s the method that actually lasts, step by step.
Prep: The 70% of the Job Nobody Sees
Remove all doors, drawers, and hardware — label everything with numbered tape so reassembly isn’t a puzzle. Then degrease: kitchen cabinets hold years of cooking grease, and paint won’t bond to it. Scrub every surface with TSP substitute or a dedicated degreaser, twice. This is the most-skipped step and the #1 cause of peeling. If water doesn’t sheet evenly on the surface after cleaning, it’s not clean enough.
Sand everything with 120-grit to scuff the existing finish (you’re not removing it, just giving the primer something to grip), then 220-grit for smoothness. Fill dents and grain with wood filler if you want a smooth modern look — oak’s open grain shows through paint unless filled. Vacuum the dust, then wipe with a tack cloth. Caulk the seams where cabinets meet walls. This prep takes a full day for an average kitchen. It’s boring. It’s everything.
Primer and Paint: Use the Right Products
Primer: use a bonding primer (shellac-based like BIN or a quality urethane bonding primer) — regular primer doesn’t grip slick cabinet finishes reliably. One full coat, sanded lightly with 220-grit when dry. Tint the primer toward your finish color to reduce topcoats.
Paint: this is non-negotiable — use cabinet-grade enamel (alkyd, urethane-alkyd, or acrylic-urethane like Benjamin Moore Advance or Sherwin-Williams Emerald Urethane). Regular wall paint, even “kitchen and bath” paint, is too soft for cabinets that get touched, bumped, and cleaned daily. Apply with a high-density foam roller or, better, an HVLP sprayer ($100 to $200 to buy, $50 a day to rent) for a factory-smooth finish. Two to three thin coats, sanding lightly with 320-grit between coats. Thin coats cure harder than thick ones — this is physics, not opinion.
Cure Time: The Step Everyone Ruins
Here’s where most DIY cabinet jobs die: paint feels dry in hours but takes 2 to 4 weeks to fully cure to maximum hardness. Reinstalling doors after 48 hours is fine if you’re gentle, but treat the cabinets delicately for the first month — no slamming, no harsh cleaners, add felt bumpers to door corners ($5, huge difference).
Wait at least 30 days before scrubbing with anything beyond a damp cloth. If you can, paint in mild weather (50-85°F, moderate humidity) — extreme heat, cold, or humidity extends cure time and can cause finish defects. The patient month after painting matters as much as the painting itself. A properly prepped, properly painted, properly cured cabinet finish lasts 8 to 10 years of daily kitchen abuse. Rush any stage and you’re repainting in two.
Long-Lasting Cabinet Paint Method
The sequence that works:
- Remove doors, drawers, hardware; label everything.
- Degrease twice — paint won’t bond to cooking grease.
- Sand 120-grit then 220-grit; fill grain and dents.
- Apply bonding primer; sand lightly when dry.
- 2-3 thin coats of cabinet-grade enamel (alkyd or urethane).
- Sand with 320-grit between coats; spray for smoothest finish.
- Reinstall gently; allow 30 days full cure before harsh cleaning.
- Add felt bumpers to prevent chips from door contact.
The Bottom Line
Cabinets painted to last need three things: obsessive degreasing and sanding, real cabinet enamel (not wall paint), and a full 30-day cure. Skip any one and the finish fails early.
It’s a week of work, not a weekend — and that’s exactly why most painted cabinets chip. Do the boring parts right and yours will look professional for a decade.
Choosing Cabinet Colors That Last
Cabinet color is a 10-year commitment, so choose with longevity in mind. The timeless champions: crisp white (brightens, matches everything, shows dirt — the trade-off), warm whites and creams (softer than stark white, hide wear better), light gray and greige (the modern neutral, endlessly versatile), navy (dramatic yet classic, hides wear beautifully), and black (bold, sophisticated, surprisingly forgiving of scuffs). These colors have looked good for decades and will for decades more.
Two-tone kitchens are the smart way to have color and timelessness: neutral perimeter cabinets (white, gray) with a bold island (navy, green, black). You get the personality without committing the whole kitchen, and repainting just the island later is a weekend project versus a full-kitchen redo. This approach also photographs beautifully and appeals to future buyers — the island reads as a furniture piece, not a commitment.
Test colors the right way: paint large poster boards (not the cabinets directly) and move them around the kitchen for a week, observing in morning, afternoon, and evening light. Undertones reveal themselves over days, not minutes — that ‘perfect gray’ might go purple in your north-facing kitchen. And consider your fixed elements: countertops, flooring, and backsplash undertones must harmonize with the cabinet color. When in doubt, pull the undertone from your countertop — it’s the most expensive element to be wrong about.
Quick Answers
What’s the most popular cabinet color?
White remains #1, followed by gray/greige and navy. Two-tone (neutral perimeter + colored island) is the fastest-growing trend.
Do dark cabinets make kitchens look smaller?
They can in small, poorly-lit kitchens. In well-lit or larger kitchens, navy or black cabinets look rich and intentional. Good lighting is the key variable.
Should I follow cabinet color trends?
For a full-kitchen paint job, lean timeless — you’ll live with it 8-10 years. Express trends on the island or with easily-changed elements.
The hardware question deserves more attention because it’s the jewelry of the kitchen. Beyond the basic knob-vs-pull choice: pulls are more ergonomic and modern, knobs are classic and cheaper — many kitchens mix them (pulls on drawers, knobs on doors) for both function and looks. Finish-wise, matte black is the current versatile champion (hides fingerprints, matches everything), brushed brass/warm gold adds warmth and luxury, and classic brushed nickel remains the safe timeless pick. Avoid mixing more than two metal finishes in the kitchen — cohesion reads as intentional design.
Soft-close hinges and drawer slides ($3-$5 per hinge, $15-$25 per drawer) are the luxury upgrade that costs surprisingly little during a cabinet refresh. You’re already removing doors; swapping hinges adds minutes per door and eliminates slamming forever. It’s the kind of detail guests notice subconsciously — the kitchen just feels higher-end. Similarly, add interior cabinet lighting ($20 LED strips) while doors are off — illuminated cabinets look custom and make finding things dramatically easier. These small upgrades, done during the painting project, deliver outsized perceived value for minimal extra cost and effort.
Further reading: This Old House cabinet painting guide, the EPA on low-VOC paint.