How to Install a Kitchen Backsplash Yourself
How to Install a Kitchen Backsplash Yourself
A new backsplash is the fastest way to make a kitchen look renovated — and it’s one of the most DIY-friendly tile projects because the area is small, the cuts are simple, and mistakes hide easily. Professional installation runs $1,000 to $2,500; DIY costs $200 to $600 in materials and a weekend.
Here’s the complete process, including the tricks that make it look professional.
Choose Tile That Forgives Beginners
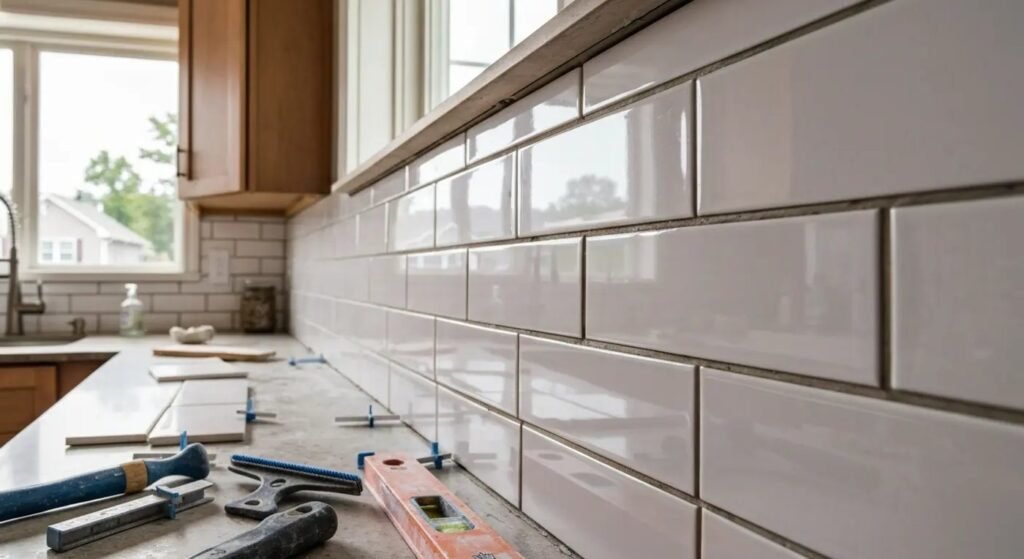
Subway tile is the classic beginner choice for good reason: it’s cheap ($2 to $5 per square foot), the 3×6 size means simple cuts, and the running-bond pattern hides imperfect spacing. Larger tiles (4×12, 6×6) go faster with fewer grout lines. Mosaic sheets on mesh backing ($5 to $15 per square foot) are even more forgiving — the mesh holds alignment for you.
Avoid as a first project: natural stone (needs sealing, chips easily when cut), tiny intricate mosaics (grout nightmare), and dark grout with light tile (every imperfection shows). Buy 10% extra tile for cuts and breakage. And pick up a tile leveling system ($15) — small clips that keep tiles flush. They’re the difference between a DIY-looking job and a pro-looking one.
The Installation, Step by Step
Prep: turn off power to outlets, remove cover plates, clean the wall (tile won’t stick to grease), and mark a level starting line. If your counters aren’t perfectly level (they aren’t), start your first row on a temporary ledger board screwed level to the wall — remove it after. Mix thinset to peanut-butter consistency (or use pre-mixed mastic for dry areas — easier for beginners, not for behind stoves).
Spread thinset on a 2-foot section with the notched trowel held at 45 degrees — the ridges ensure even coverage. Press tiles in with a slight twist, using spacers for consistent joints. Cut edge tiles with a manual tile cutter ($30 to $50 — scores and snaps, perfect for straight subway cuts) or a wet saw rental ($50 a day) for trickier cuts. Work in small sections so the thinset doesn’t skin over. Around outlets: turn off power, tile up to the box, and use outlet extenders ($3) so covers sit flush. Let it cure 24 hours before grouting.
Grouting and the Finishing Details
Choose sanded grout for joints wider than 1/8 inch, unsanded for narrower. Mix to a thick peanut-butter consistency, work it into joints with a rubber float held at 45 degrees, pressing firmly — the goal is joints packed full, not just surface-covered. Wait 15 to 30 minutes (until a light haze forms), then wipe with a damp — not wet — sponge, rinsing frequently. Too much water weakens grout and causes haze.
After 24 hours, buff off remaining haze with a dry cloth, then caulk (don’t grout) the joint where tile meets countertop — the house moves, grout cracks, caulk flexes. Seal natural stone tiles before grouting; seal grout lines after 72 hours with penetrating sealer ($15). Reinstall outlet covers with extenders, turn the power back on, and step back. The whole project: one weekend, $200 to $600, and a kitchen that looks $5,000 newer.
DIY Backsplash Toolkit
What you need:
- Tile of choice + 10% extra; subway tile is most forgiving.
- Thinset or pre-mixed mastic, notched trowel, spacers.
- Manual tile cutter ($30-$50) or wet saw rental ($50/day).
- Tile leveling clips ($15) — the pro-finish secret.
- Grout (sanded/unsanded per joint width), rubber float, sponges.
- Ledger board for a level starting line; outlet extenders ($3).
- Caulk for the tile-to-counter joint; grout sealer ($15).
The Bottom Line
Installing a backsplash yourself is very doable: choose forgiving tile, work in small sections, level as you go, grout carefully, and caulk the counter joint. $200 to $600 and a weekend buys a kitchen transformation that looks professionally done.
It’s the ideal first tile project — small area, simple cuts, huge visual payoff. If you’ve been nervous about tile, this is where to start.
Backsplash Alternatives Worth Considering
Tile isn’t the only backsplash option, and some alternatives are easier, cheaper, or better-suited to specific situations. Peel-and-stick tile ($5-$10/sq ft) has improved enormously — quality versions look convincingly real, install in hours with just a utility knife, and are ideal for renters or the commitment-phobic. They won’t fool anyone up close like real tile, but from normal viewing distance they’re impressive. Lifespan is 3-5 years versus decades for real tile — plan accordingly.
Other alternatives: beadboard or shiplap backsplash ($2-$4/sq ft, paintable, charming in farmhouse kitchens — seal well behind the stove), stainless steel sheets ($10-$15/sq ft, professional kitchen look, nearly indestructible, shows fingerprints), and large-format porcelain panels (1-2 slabs cover the whole wall — almost no grout lines, ultra-modern, but heavy and best professionally installed). Painted backsplash (scrubbable satin or semi-gloss paint, $30 total) is the budget champion — not as durable or wipeable as tile, but transformative for almost nothing.
The countertop-material backsplash (running the counter slab up the wall, $500-$1,500) is the high-end move — seamless, luxurious, zero grout maintenance. Whatever you choose, the principles are the same: protect the wall from cooking splatter, make it wipeable, and pick something you’ll love seeing daily. The backsplash is at eye level every time you cook — it’s worth choosing deliberately rather than defaulting.
Quick Answers
Is peel-and-stick backsplash worth it?
For renters and budget updates, yes — quality versions look good from normal distance and install in hours. Expect 3-5 year lifespan versus decades for real tile.
What’s the cheapest backsplash option?
Paint ($30) or beadboard ($2-$4/sq ft). Both transform the kitchen for minimal cost, though neither matches tile’s durability.
Can I install backsplash over existing tile?
Yes, if the old tile is sound and flat — scuff it, use appropriate primer/bonding agent, and tile over. It saves demolition mess.
The outlet-cutting technique is where DIY backsplashes succeed or fail visually. The pro method: mark outlet positions on the tile, use a wet saw or angle grinder with a diamond blade for the cuts (a manual snap cutter can’t do the L-shaped notches outlets need), and cut slightly generous — the outlet cover plate hides a 1/4-inch gap, but it can’t hide a tile that overlaps the box. Turn off power, extend the outlet with box extenders ($3) so it’s flush with the new tile surface, and use longer 6-32 screws. Rushed outlet cuts are the telltale sign of a DIY backsplash; patient ones are invisible. Budget extra time here — it’s the detail everyone sees.
Further reading: the Tile Council of North America, This Old House tiling guides.