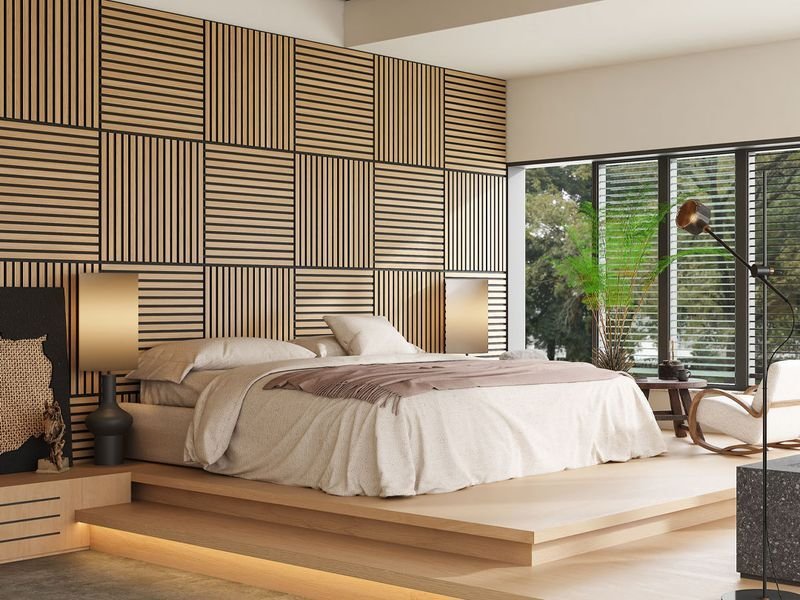
How to Soundproof a Bedroom Wall on a Budget
How to Soundproof a Bedroom Wall on a Budget
Whether it’s a snoring neighbor, street traffic, or a teenager’s music, unwanted noise through a bedroom wall ruins sleep — and sleep is non-negotiable. The good news: meaningful soundproofing doesn’t require tearing down walls. $100 to $500 in the right materials makes a real difference.
But first, the myth-busting: egg cartons, foam panels, and heavy curtains do almost nothing to block sound coming through a wall. Here’s what actually works.
Understand What You’re Fighting
Sound travels through walls two ways: through the air (voices, TV, music) and through the structure (bass, footsteps, vibrations). Airborne sound is blocked by mass and sealed gaps; structure-borne sound needs decoupling — physically separating surfaces so vibrations can’t travel. Most bedroom noise complaints are airborne sound leaking through a standard interior wall, which is just two sheets of half-inch drywall with nothing between the studs.
Before spending anything, find the leaks. Outlets and switch boxes on the shared wall are highways for sound — remove the cover plates and you’ll often feel air moving. Gaps under the door, around pipes, and where the wall meets the floor all leak noise. A $10 tube of acoustic caulk sealing these gaps can cut perceived noise noticeably on its own. It’s the highest-ROI soundproofing there is, and most people skip it.
The Budget Soundproofing Stack
The physics is simple: add mass, seal gaps, and absorb what gets through. The best budget approach for one wall: seal every gap with acoustic caulk ($10), add a layer of mass-loaded vinyl or a second layer of drywall with Green Glue damping compound between ($150 to $300 in materials for one wall), and seal the outlets with putty pads ($3 each). This combination can reduce noise transmission by 50% to 70% — the difference between hearing every word and hearing a faint murmur.
If you can’t modify the wall (renters), go freestanding: a tall, heavy bookshelf filled with books against the shared wall adds genuine mass — books are excellent sound blockers. Heavy moving blankets ($30 each) hung floor-to-ceiling on hooks add a layer of absorption. A white noise machine ($30 to $50) doesn’t block sound but masks the remainder beautifully for sleep — it’s the finishing touch, not the solution, but it matters.
What Not to Waste Money On
Acoustic foam panels (the wedge-shaped studio kind) absorb echo inside your room — they do essentially nothing to stop sound coming through the wall. Hanging them for soundproofing is the most common waste of money in this space. Same for egg cartons (a fire hazard that does nothing), standard curtains, and “soundproof” paint (marginal at best).
Also be realistic about expectations: no budget treatment makes a wall silent. You’re reducing noise to manageable levels, not building a recording studio. Bass and low frequencies are the hardest to block — they travel through the building’s structure itself, and taming them requires serious construction. If your problem is a subwoofer two floors down, talk to the neighbor (or the landlord) before spending on materials; no amount of drywall fixes structure-borne bass cheaply.
Budget Soundproofing Action Plan
In order of bang for buck:
- Seal all gaps with acoustic caulk — outlets, baseboards, pipe openings ($10).
- Add mass: second drywall layer with damping compound, or MLV ($150-$300).
- Seal outlet boxes with putty pads ($3 each).
- Renters: heavy bookshelf against the wall + moving blankets ($60-$90).
- Add a white noise machine for sleep masking ($30-$50).
- Skip: foam panels, egg cartons, and ‘soundproof’ paint for blocking noise.
- For bass/structure noise, address the source — materials alone won’t fix it.
The Bottom Line
Soundproofing a bedroom wall on a budget works if you respect the physics: seal the gaps first, add mass second, mask the rest with white noise. $100 to $300 gets you a dramatically quieter bedroom.
Skip the foam panels and egg cartons — they’re for echo, not blocking. Seal, add mass, sleep better. Your mornings will thank you.
Soundproofing for Renters: What’s Actually Allowed
Renters face the same noise with fewer options — but there are plenty of effective reversible treatments. The heavy bookshelf trick is renter-gold: fill it with books (dense mass) against the noisy wall, and take it with you when you leave. Freestanding acoustic panels on easel stands or leaned against the wall add absorption without a single hole. Moving blankets on removable adhesive hooks ($30 for blankets, hooks leave no damage) create a surprisingly effective barrier layer.
Sealing is still your best friend and fully reversible: acoustic caulk peels away, removable rope caulk ($5) presses into gaps around windows and doors, and door draft stoppers ($10) block the under-door gap that’s often the worst offender. Outlet gaskets ($3 for a 12-pack) fit behind cover plates with no wiring changes. None of this violates a lease, and it all comes with you or peels off cleanly.
Have the conversation with your landlord about bigger fixes — some will split costs or approve modifications since soundproofing improves the property. Get any approval in writing. And know your rights: many cities have noise ordinances and implied warranty of habitability standards. If the noise is a neighbor violating quiet hours, the solution is enforcement (landlord, HOA, or local code), not construction. Document the noise (phone recordings with timestamps) before escalating — it turns complaints into cases.
Quick Answers
Do acoustic foam panels block neighbor noise?
No — they reduce echo inside your room but barely affect sound coming through walls. For blocking, you need mass and sealed gaps.
What’s the cheapest effective soundproofing?
Sealing gaps with acoustic caulk ($10) — it’s the highest ROI. Then mass: bookshelves, heavy blankets, or a second drywall layer.
Can I soundproof a wall without construction?
Meaningfully, yes: seal gaps, add mass (bookshelf, blankets), and use white noise for sleep. You won’t achieve silence, but 50-70% reduction is realistic.
Managing expectations with neighbors is the social side of soundproofing that materials can’t fix. Before spending hundreds on treatments, have an honest conversation — many noise issues resolve with awareness, not construction. The upstairs neighbor may not know their 6 a.m. workout transmits; the teenager may not realize the bass travels through the building frame. Approach with specific observations and proposed quiet hours rather than complaints; offer the white-noise-machine compromise for residual sound. Document agreements in a friendly follow-up text. Most people are reasonable when approached kindly — and the combination of a good-faith conversation plus modest sound treatment solves the vast majority of neighbor noise situations.
Further reading: the National Institute of Standards and Technology on acoustics, Family Handyman soundproofing guides.
Pingback: Unclog a Drain Without Chemicals: 6 Methods (2026)