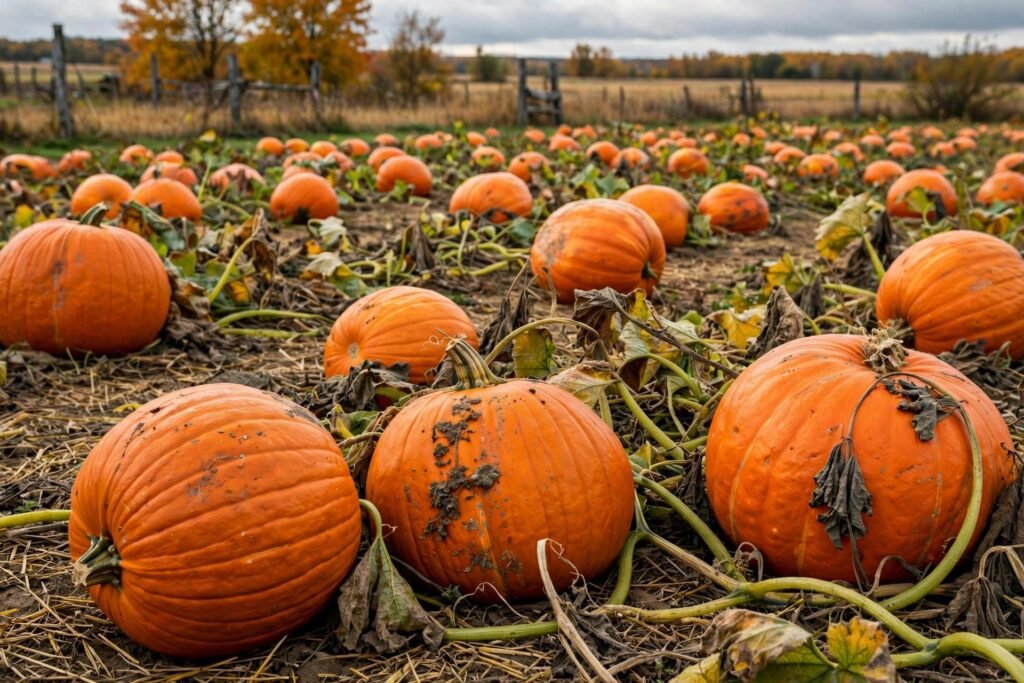
How to Grow Pumpkins for a Fall Harvest Worth Bragging About
Nothing says fall like a porch piled with pumpkins — and the ones you grew yourself taste infinitely better than the ones you bought. Growing pumpkins for a fall harvest is one of gardening’s most rewarding projects: the plants are vigorous, the fruits are spectacular, and kids love the whole glorious process. But pumpkins are also space-hungry, pest-prone, and timing-sensitive — plant too late and frost kills green fruit; plant too early and the vines exhaust themselves by August. Here is the complete guide to timing, growing, and harvesting pumpkins that actually ripen by fall.
Timing: Count Backwards From Halloween
Pumpkins need 75–120 days from seed to mature fruit depending on variety — and this is where most beginners fail, planting in late June and wondering why October brings green softballs. The fix is simple arithmetic: pick your target harvest date (early-to-mid October for fall display and storage), subtract the variety’s days-to-maturity, and add two weeks of buffer. For a 100-day variety targeting October 10th, sow around late June — but for 120-day giants, that means late May.
Regional adjustment matters: in short-season climates (Upper Midwest, New England), start seeds indoors 2–3 weeks before the last frost to buy time, transplanting after soil warms to 70°F. In long-season areas, direct sowing works beautifully — pumpkins resent root disturbance, so direct-sown plants often outgrow transplants. Never rush: pumpkin seeds rot in cold soil below 60°F, and a stunted start never fully recovers. Warm soil is worth more than an early calendar date.
Site, Soil, and Space: Feeding the Beast
Pumpkins are the heavyweight champions of the vegetable garden: each plant wants 50–100 square feet, full sun (8+ hours), and the richest soil you can provide. Prepare the bed like you mean it — pumpkins are gluttons. Dig in 3–4 inches of composted manure, and plant on low mounds (hills) 6–12 inches high, which warm faster and drain better than flat ground. Soil pH of 6.0–7.0 is ideal; a soil test before planting prevents mid-season mysteries.
Space planning is critical: standard varieties send vines 15–25 feet in every direction. Options for small gardens: bush/compact varieties (bred for 3–4 foot spreads), vertical growing on sturdy trellises (for small-fruited types under 5 pounds — sling the fruits in fabric hammocks), or the “pumpkin patch” approach of dedicating one sprawling corner. Do not skimp on space — crowded vines mean poor air circulation, rampant mildew, and small fruit. Give them room and they will fill it spectacularly. Starting seeds right sets the tone; indoor seed-starting care principles transfer directly to pumpkin seedlings.
Feeding Schedule
Side-dress with compost or balanced fertilizer when vines start running, then switch to low-nitrogen, high-phosphorus/potassium feed once fruits set — excess nitrogen grows leaves at the expense of pumpkins. A final compost top-dressing in August fuels the ripening push.
Water, Pollination, and Pest Patrol
Water deeply and consistently — pumpkins need 1–2 inches weekly, and irregular watering causes misshapen fruit and blossom-end issues. Water the soil, not the leaves: wet foliage invites powdery mildew, the number-one pumpkin plague. Drip irrigation or soaker hoses are ideal; overhead watering is an invitation to fungus.
Pollination is the hidden make-or-break: pumpkins produce separate male and female flowers, and poor pollination means tiny fruits that yellow and drop. If bee activity is low, hand-pollinate — transfer pollen from male to female flowers (females have the tiny fruit bulge at the base) with a paintbrush in the morning. One morning of hand-pollination can save a whole crop. For pests, the squash vine borer is public enemy number one: wrap stem bases with foil, monitor for frass (sawdust-like droppings), and slit-and-remove larvae surgically if found. Row covers until flowering exclude most pests; remove them when female flowers appear so pollinators can work. Preserve your harvest well and keep fresh produce at its best through the season.
Harvest and Curing: The Finish Line
Harvest when the rind is hard enough to resist fingernail puncture, the stem is dry and corky, and the color is fully developed — typically after the first light frost kills the vines (but before a hard freeze, which damages fruit). Cut with 3–4 inches of stem attached; the stem is the fruit’s seal — broken or missing stems invite rot. Handle like eggs: bruises become rot spots in storage.
Cure for 10–14 days in a warm (80°F), well-ventilated spot — curing hardens the skin and heals minor wounds, dramatically extending storage. Then store at 50–60°F with good air circulation: properly cured pumpkins keep 2–3 months, sometimes through winter. For jack-o’-lanterns, harvest slightly under-ripe and keep cool until carving week. For pie pumpkins (sugar varieties — far superior to field pumpkins for eating), cure and store the same way, then roast and puree in batches for the freezer.
Regional Growing Guides for the Midwest
Pumpkin varieties behave differently across the Midwest’s zones, so lean on regional extension guidance rather than generic seed-packet advice. The University of Minnesota Extension’s pumpkin guide covers variety selection, spacing, and pest management calibrated for northern growers, including which short-season varieties reliably mature before Upper Midwest frosts. Their research emphasizes soil temperature over air temperature for germination timing — a distinction that prevents the most common beginner mistake of planting into cold soil.
For day-by-day timing, the Almanac’s ZIP-code planting calendar pins your frost dates precisely, letting you count backward from Halloween with confidence. One underused trick from extension trials: laying black plastic mulch two weeks before planting warms soil by 5–8°F, effectively buying northern growers an extra week or two of season — often the difference between green pumpkins at frost and a full harvest of orange ones.
Conclusion
Growing pumpkins for fall harvest is timing plus space plus vigilance: count backwards from October, give vines room and rich soil, water the roots not the leaves, ensure pollination, patrol for borers, and harvest and cure properly. Do this and October brings the payoff — a porch of homegrown pumpkins, a freezer of puree, and the particular satisfaction of a harvest timed to the season. Start planning in spring; the fall you wants the pumpkins.
Frequently Asked Questions
Why are my pumpkins not turning orange?
Usually immaturity — most varieties need the full days-to-maturity, and cool weather slows ripening. Ensure the fruit gets sun exposure (gently move leaves aside), stop fertilizing, and reduce watering as harvest nears. Green pumpkins harvested before frost will often ripen off the vine in a warm spot.
How many pumpkins will one plant produce?
Standard carving varieties: 2–5 fruits per plant. Giant varieties: 1–2 (thin to one for maximum size). Small/pie varieties: 6–12. For larger fruits, pinch off all but 2–3 per vine so the plant concentrates energy.
Can I grow pumpkins in containers?
Only compact bush varieties, and only in very large containers (20+ gallons) with rich soil and constant water. Standard vining pumpkins need ground space — containers cannot support their root and vine demands. Choose a bush variety bred for small spaces.
What’s the difference between carving and pie pumpkins?
Carving (field) pumpkins are bred for size and thin walls — watery, stringy flesh. Pie (sugar) pumpkins are smaller with dense, sweet flesh bred for eating. Grow sugar varieties like ‘Sugar Pie’ or ‘Winter Luxury’ for cooking; the flavor difference is dramatic.