How to Get Salon-Quality Blowouts at Home (2026 Guide)
A salon blowout — that bouncy, glossy, expensive-looking hair — costs $40 to $70 and lasts a few days. The at-home version usually ends in arm exhaustion, frizzy ends, and hair that falls flat by lunch. But the gap between salon and DIY is not talent or magic products. It is technique: sectioning, tension, heat direction, and the finishing steps most people skip. Master those, and your bathroom mirror starts producing $60 hair.
Here is how to get salon-quality blowouts at home: the tools that actually matter, the prep that determines everything, the section-by-section technique stylists use, and the finishing tricks that make it last for days.
Tools: What Matters and What Does Not
You need three things: a decent dryer with a nozzle attachment and multiple heat settings (ionic helps with frizz), a round brush sized to your hair (large barrel for long hair and volume, medium for shoulder-length, small for short hair and curl), and heat protectant — non-negotiable, since blowout heat without protection is cumulative damage, a point the American Academy of Dermatology stresses in its heat-styling guidance. Sectioning clips, a paddle brush for the rough-dry phase, and a lightweight finishing serum round out the kit.
You do not need: a $400 dryer (mid-range dryers with good airflow perform nearly as well), seventeen styling products, or a rotating hot-air brush as your primary tool (fun, but less control than dryer-plus-brush). Total sensible investment: $60 to $120, paying for itself in two skipped salon visits.
Prep: Where Blowouts Are Won or Lost
Start with the right wash
Blowouts last longest on clean hair with lightweight conditioner — heavy masks and over-conditioning make hair too soft to hold shape. Rough-dry first: with just the dryer and your fingers (or a paddle brush), remove 70 to 80 percent of the moisture before the round brush ever appears. This single step cuts styling time in half and reduces heat damage enormously — most DIY frustration comes from trying to style soaking-wet hair.
Heat protectant and sectioning
Apply heat protectant evenly to damp hair — it is the cheapest insurance against damage you will ever buy. Then section: clip the top two-thirds up, leaving the bottom layer (nape to ears) free. Work in clean, horizontal sections about the width of your brush. Stylists are obsessive about sectioning because it is the difference between smooth, controlled results and chaotic frizz. Do not skip it.
The Technique, Section by Section
Tension is everything
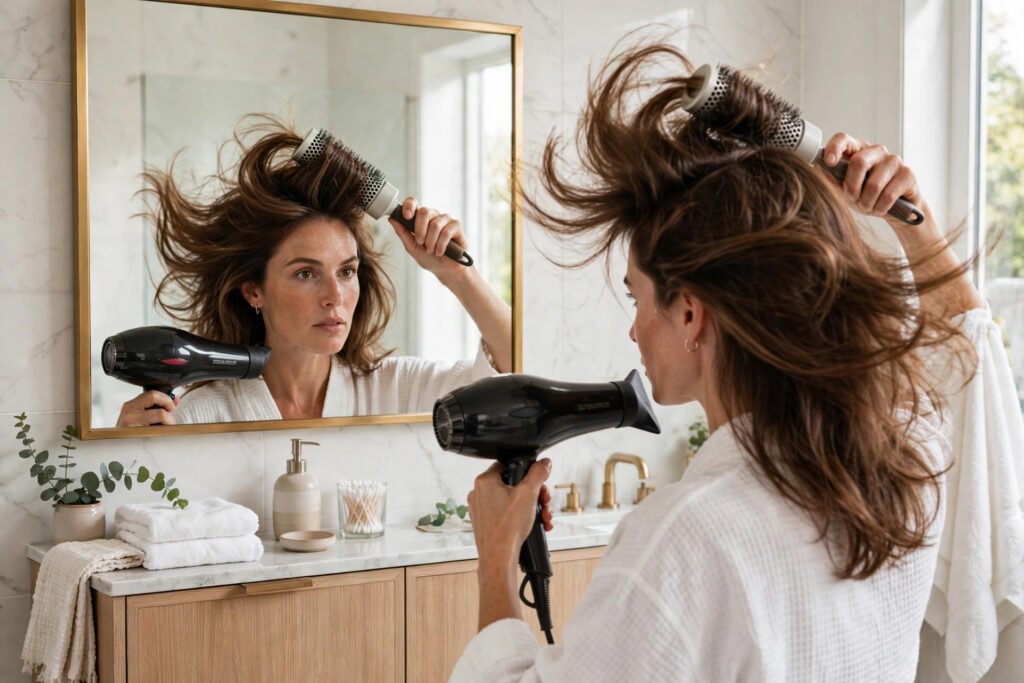
The core skill: keep the hair taut on the brush while the dryer’s nozzle follows the brush down the hair shaft, pointing downward. Downward airflow seals the cuticle (smoothness and shine); upward or random airflow roughs it up (frizz). Maintain firm, even tension — the brush does the shaping, the heat sets it. Each section gets two to three slow passes; rushing with fast passes is why DIY blowouts look unfinished.
Roots for volume, ends for shape
At the roots, lift the brush upward and direct heat at the base for 5 to 10 seconds — this sets volume that survives the day. Through the lengths, keep tension smooth and even. At the ends, roll the brush to create the finish you want: under for a classic sleek blowout, outward for flipped ends, or a slight bend for modern softness. Work from the bottom sections upward, finishing with the top and crown — the visible layer gets the freshest, most careful work.
The cool shot
Every section ends with the cool-shot button, held for 5 seconds. Heat shapes the hair; cooling sets the shape. Skipping the cool shot is the number-one reason blowouts fall flat within hours. It feels like a small step; it is the step that makes everything else last.
Finishing: The Salon Difference
Once fully dry and cooled, flip your head upside down and shake gently at the roots for volume, then smooth the surface lightly. Apply a pea-sized amount of finishing serum or lightweight oil to the ends only — never the roots, which kills volume instantly. For extra hold, a light mist of flexible-hold hairspray from 12 inches away sets without stiffness.
Velcro rollers on the crown for 10 minutes while you do makeup add next-level volume — the salon secret hiding in plain sight. Let them cool completely before removing; warm removal undoes the work.
Making It Last for Days
Night: pineapple long hair loosely on top of the head or wrap in a silk scarf — cotton pillowcases create friction that destroys blowouts overnight — a fabric-friction point the AAD’s hair care guidance also flags for breakage prevention. Morning: revive with dry shampoo at the roots (applied the night before works even better, absorbing oil as it forms) and a quick cool-air refresh of any flat sections. Days two and three are often better than day one — slightly lived-in blowouts have the best texture.
Protect the investment between washes: the same humidity and friction principles behind static hair attack blowouts too, so silk pillowcases and anti-humidity finishing sprays extend wear meaningfully. And budget wisely — the money saved on salon visits adds up fast, worth tracking as part of how much you budget for monthly self-care.
Troubleshooting Common Failures
Frizzy no matter what
Usually: styling hair that is too wet, nozzle pointing the wrong direction, or skipping heat protectant on already-damaged hair. Fix the rough-dry, aim the airflow down the shaft, and consider a smoothing serum on damaged ends. (If you are shedding more than usual during styling, remember that hair falls out more in certain seasons — persistent heavy shedding beyond that deserves a dermatologist’s look.)
Flat by lunchtime
Usually: skipped cool shots, too much conditioner, or product on the roots. Cool-set every section, go lighter on conditioner next wash, and keep oils and serums on ends only.
Arms give out halfway
Normal at first — stylists build the stamina over years. Rough-dry more thoroughly (less brush time needed), work in fewer, larger sections, and rest between sections. It gets easier within a month of practice.
Conclusion
Salon-quality blowouts at home come down to rough-drying to 80 percent first, clean sectioning, firm tension with downward airflow, cool-shotting every section, and finishing with ends-only serum. The technique is learnable in a few sessions and the payoff — $60 hair on demand, lasting days with silk-scarf nights and dry shampoo mornings — is one of beauty’s best returns on practice. Your arms will forgive you.
Frequently Asked Questions
How long should a DIY blowout take?
Twenty to 40 minutes depending on hair length and thickness, once practiced. The rough-dry phase is the biggest time-saver — thorough rough-drying can halve total styling time.
Will blow-drying damage my hair?
With heat protectant, proper technique, and not over-drying, weekly blowouts cause minimal damage. Damage comes from extreme heat on wet hair, no protection, and daily high-heat styling — all avoidable.
What size round brush should I use?
Large barrel (2-inch plus) for long hair and maximum smoothness, medium (1.5-inch) for shoulder-length hair and versatile styling, small (1-inch) for short hair, bangs, and defined curl. Match the brush to your hair length.
How do I get volume that lasts?
Lift roots upward with the brush while heating the base, cool-shot every section, finish with velcro rollers on the crown, and keep products off the roots. Day-two dry shampoo at the roots (applied the night before) maintains it.