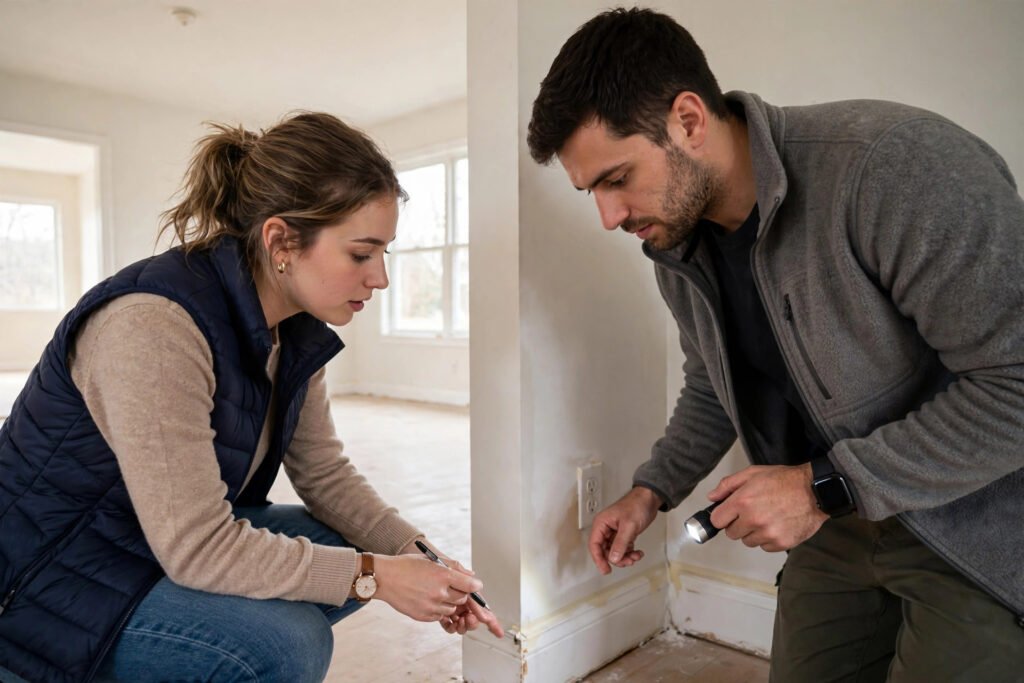
How to Do a Final Walkthrough Before Closing
The final walkthrough is the last line of defense between you and someone else’s problems. Done 24–48 hours before closing, it is your contractual right to verify the home is in the agreed-upon condition — agreed repairs completed, no new damage, all fixtures present, systems working. Buyers who treat it as a formality sometimes discover, too late, that the sellers took the chandelier, the basement flooded last week, or the “repaired” furnace still does not heat. An hour of diligence now prevents months of regret.
This guide explains how to do a final walkthrough before closing: what to check room by room, what to do when you find problems, and the rare situations where you should delay closing.
Timing and Ground Rules
Schedule the walkthrough 24–48 hours before closing — close enough that the sellers have moved out (an occupied house cannot be properly checked), with enough time to address issues before money changes hands. Bring your agent, your original inspection report, the repair agreement or amendment listing agreed fixes, and your phone (photos/video of everything). Allow a full hour; rushing defeats the purpose. Bring a checklist: print one or save it on your phone — walking room to room without a list guarantees you will forget something. Photograph every room, every appliance, every serial number. Open and close every window and door while you are at it.
The walkthrough is not a second home inspection and not an opportunity to renegotiate cosmetic issues you already accepted. Its purpose is narrow and critical: verify the property’s condition matches what you agreed to buy, agreed repairs were completed properly, and nothing has changed since the inspection. If you skipped understanding the inspection the first time, our older-home inspection checklist is worth reviewing before you walk in.
The Room-by-Room Checklist
Every room: lights and switches work, outlets work (bring a phone charger to test), windows open/close/lock, no new wall or ceiling damage (water stains since inspection are red flags), floors undamaged from the move. Kitchen: all appliances present and working — run the oven, microwave, dishwasher (a quick cycle), disposal, and range hood; check under the sink for leaks. Bathrooms: run every faucet (hot and cold), flush every toilet, check for leaks at bases, run showers and check drainage and caulking.
Basement/attic/crawlspace: look for new water intrusion, check that the sump pump works, verify no new mold or pest signs. Garage and outbuildings: check door operation, confirm included storage items remain, and verify no new oil stains or damage on the floor. HVAC: run heating and cooling (even briefly, even off-season — confirm both respond). Exterior: verify agreed exterior repairs, check gutters and downspouts, confirm landscaping/debris removal if agreed. Agreed repairs: check every single one against the amendment — with receipts/invoices the seller should provide. Do not take “we fixed it” on faith; verify function.
Verify What Stays and What Goes
Move-out surprises are walkthrough classics. Verify that all fixtures and agreed inclusions remain: light fixtures, curtain rods (unless excluded), built-in shelving, appliances listed in the contract, smart home devices (thermostats, doorbells — check what the contract says). Check that excluded items are actually gone and did not damage walls on the way out. Confirm no new damage from the move — dented walls, scratched floors, broken fixtures from furniture removal are the seller’s responsibility to fix or credit.
Also verify: garage door openers and remotes present (all of them), keys for every lock (including sheds and outbuildings), and that the sellers have not left belongings behind — leftover junk becomes your disposal problem and expense. If the contract included a home warranty, confirm the paperwork is ready for closing.
When You Find Problems
Most walkthroughs find something — the question is severity. Minor issues (a scuffed wall, a missing outlet cover): note them, mention to your agent, but do not delay closing over them. Moderate issues (an agreed repair done poorly, a missing appliance, new minor damage): your agent negotiates a credit or escrow holdback — money held from the seller’s proceeds at closing to cover the fix, typically 1.5x the estimated cost. Get contractor estimates fast; same-day numbers strengthen your position. Use escrow holdbacks strategically: for repairs the seller cannot finish before closing, 1.5x the estimated cost held in escrow protects you — the multiplier covers the inevitable discoveries.
Major issues (flooded basement, non-functional HVAC, significant new damage, agreed structural repairs not done): this is where you consider delaying closing. Your agent and attorney can extend the closing date with the seller’s agreement, or hold substantial escrow. Do not close hoping it works out — once you close, the seller’s leverage is gone and the problem is yours. Document everything with photos and written descriptions; email the list to your agent immediately so there is a paper trail before closing.
The Rare Case for Delaying Closing
Delaying closing is disruptive — movers, rate locks, and life logistics all shift — so reserve it for genuine deal-breakers: health/safety issues (mold, sewage, no heat in winter), major systems non-functional, agreed material repairs ignored, or new damage that changes the home’s value. In these cases, the options are: extend closing with a written amendment (seller completes repairs, re-walkthrough before the new date), close with a large escrow holdback (funded at 1.5–2x repair estimates, released when fixed), or — in extreme cases — exercise your contract rights to walk away.
Your agent and real estate attorney earn their fees here. Do not let urgency (“the movers are coming!”) override judgment — closing on a house with a failed septic system because rescheduling is inconvenient is a five-figure mistake. The National Association of Realtors buyer resources cover walkthrough rights, and CFPB’s closing checklist pairs with the walkthrough for a complete pre-closing review.
The Bottom Line
Do the final walkthrough 24–48 hours before closing, with your agent, your inspection report, and the repair agreement in hand. Test every system, verify every agreed repair and inclusion, check for move-out damage, and document everything. Handle minor issues with credits, major ones with escrow or delayed closing — and never let logistics pressure you into closing on a house with unresolved material problems. One careful hour now is the cheapest insurance in the entire transaction.
Frequently Asked Questions
When should I do the final walkthrough?
24–48 hours before closing, after the sellers have moved out. This leaves time to address issues before money changes hands while ensuring you see the home’s true vacant condition.
What should I bring to a final walkthrough?
Your agent, the original inspection report, the repair agreement/amendment, a phone charger (to test outlets), and your phone for photos/video. Allow a full hour.
Can I back out after the final walkthrough?
The walkthrough itself is not a contingency — but if you find material problems (uncompleted agreed repairs, new damage), your existing contract contingencies and your agent/attorney give you leverage to delay closing, demand escrow holdbacks, or in extreme cases walk away.
What if the seller did not complete agreed repairs?
Do not close without resolution. Options: extend closing until repairs are done (with re-walkthrough), accept a closing credit for the repair cost, or hold repair funds in escrow at 1.5–2x the estimated cost. Get everything in writing.