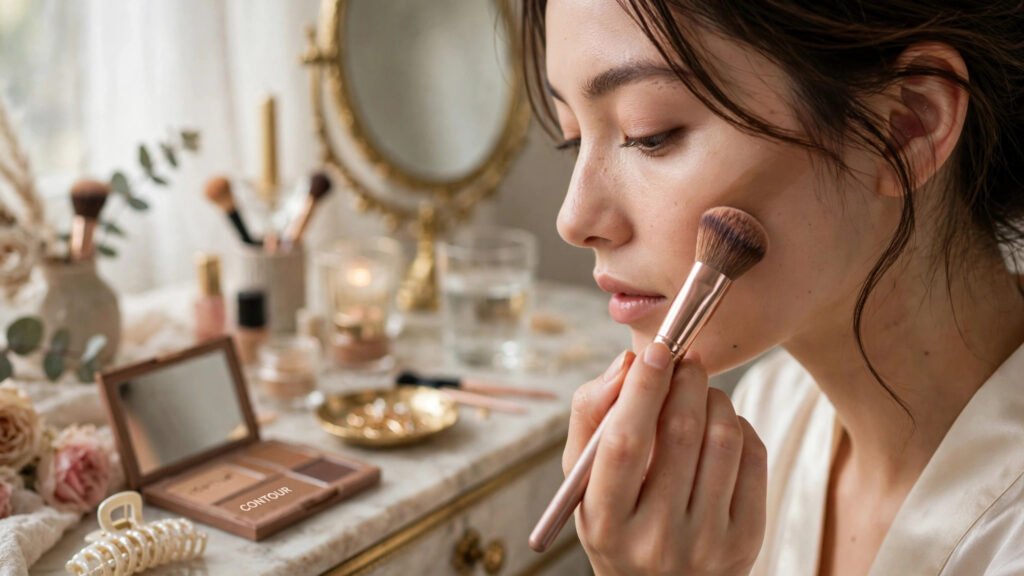
How to Contour for Beginners: Step-by-Step Tutorial
Contouring looks like sorcery from the outside — sculpted cheekbones, a slimmer nose, a defined jawline, all from a few strategic strokes of makeup. But strip away the Instagram filters and it’s simply applied shadow and light: darker shades recede, lighter shades bring forward. Anyone can learn it. This step-by-step beginner’s guide to contouring breaks the technique into foolproof stages, with product recommendations and the mistakes that make beginners look muddy instead of sculpted.
What You Need (Keep It Simple)
Beginners need exactly three products: a contour shade (matte, 1–2 shades darker than your skin tone with a cool or neutral undertone — warm bronzers are not contour and will look orange on skin), a highlight (1–2 shades lighter, subtle sheen not glitter), and tools (a fluffy angled brush for cheeks, a smaller brush for nose, and a damp beauty sponge for blending). Cream products are more forgiving for beginners than powders — they blend easier and look more natural.
Start affordable while you learn; technique matters far more than price at this stage. And protect the canvas first — contour sits on top of your base routine, so choosing the right sunscreen and a good moisturizer matters more to the final result than any contour palette. The FDA’s cosmetics hub covers product safety basics worth knowing as you build your kit.
Step 1: Map Your Face
Before touching product, understand your face shape — it determines placement. Find the hollows of your cheeks (suck in slightly; the dip below the cheekbone is your contour zone), the sides of your nose, your temples and hairline, and along the jawline. The universal beginner map: contour in the cheek hollows, along the hairline at the temples, down the sides of the nose, and under the jawline; highlight on the tops of cheekbones, bridge of the nose, cupid’s bow, chin center, and brow bone.
Less is more at this stage. Mark the zones mentally or with tiny dots — you’ll blend everything next. The most common beginner error is contouring too low on the cheek (dragging the face down) — stay in the hollow, angling upward toward the ear, never below the corner of the mouth.
Step 2: Apply the Contour Shade
Using your angled brush, pick up a small amount of product — tap off the excess first — and apply in the cheek hollows using short strokes from the ear toward (but not reaching) the mouth. For the nose, use the small brush to draw two thin, careful lines down the sides, then a tiny “V” or line across the tip to define it. Sweep contour along the temples and hairline to frame the face beautifully, and run it under the jawline to sharpen and define the jaw.
Work in thin layers. You can always add more; removing excess requires starting over or heavy blending that muddies everything. If using cream contour, dots or short dashes blend more naturally than long stripes. Take your time — rushing application is what creates the harsh, unblended lines that scream “beginner.”
Step 3: Highlight the High Points
Contour without highlight looks flat and dirty — the light shades are what create dimension. Apply highlighter to the tops of your cheekbones (just above the contour line), down the bridge of the nose (a thin, precise line between the contour lines), the center of the forehead, chin, and cupid’s bow for extra dimension. This is also where a luminous (not glittery) formula matters — chunky shimmer reads as texture in daylight.
The balance between contour and highlight is the whole art: shadow recedes, light advances, and together they sculpt. If your face looks muddy, you usually need more highlight, not less contour. For special occasions, a touch more highlight on the cheekbones photographs beautifully — the same principle behind looking stylish on a budget: strategic emphasis beats expensive products.
Step 4: Blend, Blend, Blend
Blending is 80% of good contouring. Using a clean damp sponge or fluffy brush, blend the edges of every contour line with stippling or circular motions — never drag, which moves product where it doesn’t belong. Blend the cheek contour upward into the hairline, the nose lines outward, and the jaw contour downward into the neck (critical: an unblended jaw line creates a visible mask edge).
Check your work in natural daylight, not just bathroom lighting — indoor lighting hides harsh lines that sunlight reveals mercilessly. Step back from the mirror; contour should be visible but not obvious, like good lighting rather than makeup. If you can see exactly where the contour starts and stops, keep blending until the transition melts away.
Beginner Mistakes to Avoid
The hall of fame of contour fails: using bronzer as contour (too warm — creates an orange cast instead of shadow), contouring with shimmer products (shimmer brings forward; it defeats the purpose), going too dark (1–2 shades is plenty), skipping the neck blend (the dreaded mask line), and contouring every feature at once (nose, cheeks, jaw, forehead, temples — pick two or three for daily wear).
Also: contour doesn’t replace skincare or suit every face — very round faces benefit most from cheek contour; longer faces should focus on forehead and chin to balance proportions, and deeper skin tones need richer contour shades while very fair skin needs the lightest touch. And remember that skin changes matter: if you’re noticing seasonal changes in hair and skin, your shade match may need seasonal adjustment too. The American Academy of Dermatology’s skincare resources help you keep the underlying skin healthy so makeup performs its best.
Conclusion
Contouring for beginners comes down to: map your face shape first, apply a cool-toned contour 1–2 shades darker than skin in thin layers, highlight the high points generously, and blend until the edges disappear — always checked in natural daylight. Start with creams, practice on low-stakes days, avoid the classic mistakes (warm bronzer, shimmer contour, unblended jaw), and remember that subtle beats dramatic while you’re learning. In two weeks of daily practice, the “sorcery” becomes comfortable second nature.
Frequently Asked Questions
What is the difference between contour and bronzer?
Contour uses cool/neutral matte shades 1–2 tones darker than skin to create shadow and definition; bronzer uses warm shades to add sun-kissed warmth. They’re different products for different jobs — bronzer as contour looks orange.
Should beginners use cream or powder contour?
Cream — it’s more forgiving, blends easier, and looks more natural on skin. Powders are faster once you’re skilled but punish heavy-handed application.
How do I contour for my face shape?
Round faces: focus on cheek hollows and jawline. Long faces: contour forehead hairline and chin to shorten. Square faces: soften jaw angles. Heart faces: contour temples and narrow the forehead. Always adapt the universal map to your features.
Why does my contour look muddy?
Usually three causes: shade too warm or too dark, insufficient blending, or missing highlight balance. Switch to a cooler, lighter shade, blend more, and add highlight to the high points.
Can I contour without foundation?
Yes — apply contour over moisturizer and sunscreen for a natural, sheer sculpted look. It won’t last as long or look as defined, but it’s perfect for minimal-makeup days.