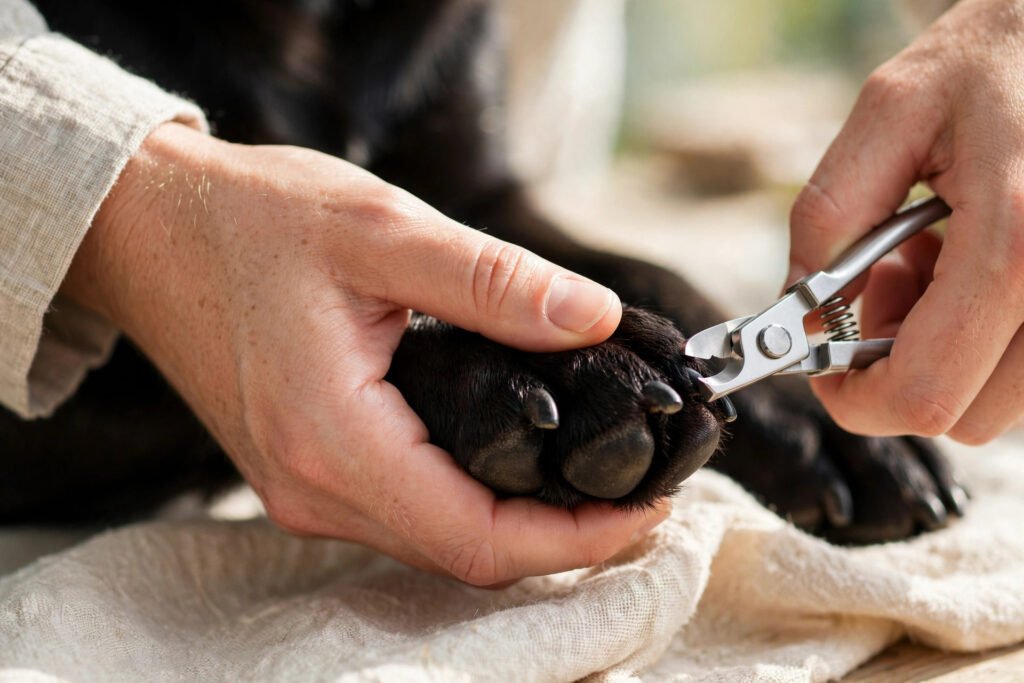
How to Trim Black Dog Nails Without Hitting the Quick
Trimming a dog’s black nails is one of the most anxiety-inducing tasks in pet ownership. With white nails, you can see the pink quick and avoid it. With black nails, you are flying blind — one millimeter too far and there is blood, yelping, and a dog who will never trust the clippers again. No wonder so many owners either pay the groomer or let the nails grow into talons.
But black nails are absolutely trimmable at home once you know the technique. This guide explains how to trim black dog nails safely without hitting the quick — the anatomy, the tools, the step-by-step method professionals use, what to do if you do nick the quick, and how to desensitize a nervous dog. Your dog’s nails (and your wallet) will thank you.
Understanding the Quick in Black Nails
The quick is the blood vessel and nerve running through the center of each nail. In white nails it is visible as a pink line; in black nails it is hidden inside the dark keratin. The key insight professionals rely on: as you trim a black nail in thin slices, the cross-section changes appearance before you reach the quick. Freshly cut nail shows a whitish-gray center with a darker outer ring. As you get close to the quick, a small dark dot appears in the center — that is your stop signal. One or two more thin slices past that dot and you will hit blood.
Nails also have a natural curve, and the quick follows it — which means the quick sits lower (closer to the paw) on the underside. Trimming at a slight angle, taking more off the top, follows the quick’s anatomy safely. And here is the encouraging part: the quick recedes with regular trimming. Trim every 1-2 weeks and the quick gradually shortens, letting you maintain shorter nails over time. Infrequent trimming lets the quick grow long, making safe trims harder — consistency is the whole game.
Tools: Clippers vs. Grinders
Guillotine or scissor clippers: Fast and effective, preferred by many groomers. Scissor-style (like Millers Forge) gives the most control for large dogs; guillotine-style suits small dogs. Keep blades sharp — dull clippers crush rather than cut, which hurts and splinters.
Nail grinders (Dremel-style): The safest option for black nails, and the best choice for nervous owners. Grinding removes tiny amounts gradually, generates the visual cues (that dark dot) clearly, and leaves smooth edges that do not scratch floors or skin. Downsides: noise and vibration scare some dogs, and it takes longer. For black nails specifically, grinders are the most forgiving tool — you would have to work to hit the quick.
Have styptic powder on hand regardless. Products like Kwik Stop (or cornstarch in a pinch) stop quick bleeding in seconds. Its presence alone reduces your anxiety, which your dog absolutely senses. The AKC’s nail-trimming guide covers tool selection well.
The Step-by-Step Safe Trim Method
1. Set the scene. Choose a calm moment — after a walk, not before. Good lighting is essential; you need to see the nail cross-sections clearly. Have treats ready and styptic powder open and within reach.
2. Position comfortably. For small dogs, hold them in your lap. For large dogs, have them lie on their side, or trim one paw at a time while they stand. Never wrestle — if the dog is panicking, stop and try later. Forcing it creates lasting trauma.
3. Trim in thin slices. This is the core technique for black nails: take off 1-2mm at a time, examining the cross-section after each cut. You will see: first, solid dark/gray nail; then a lighter oval center appearing; then the dark dot in the center — STOP here. Move to the next nail.
4. Angle the cut. Cut at roughly 45 degrees, following the nail’s natural curve, taking slightly more from the top. This mirrors the quick’s position and lets you go shorter safely.
5. Do the dewclaws. Do not forget the dewclaws (the “thumbs”) — they do not touch the ground, so they never wear down, and overgrown dewclaws curl into the pad painfully.
6. Reward generously. Treat after each paw, jackpot treat at the end. You are building a positive association for next time.
If You Hit the Quick (It Happens)
Even professionals nick the quick occasionally — do not panic. Apply styptic powder with firm pressure for 10-15 seconds; bleeding stops quickly because nail quicks clot fast. If you do not have styptic powder, press a bar of soap or cornstarch into the nail, or hold a cold damp cloth with pressure.
The bigger issue is psychological — yours and the dog’s. Stay calm and matter-of-fact; dramatic reactions teach the dog that nail trims are terrifying. Give a treat, take a break, and finish another day if needed. One quicked nail does not ruin the training — quitting in a panic does more damage than the nick itself.
If bleeding does not stop within 15-20 minutes of pressure (rare), call your vet. And if your dog becomes truly phobic despite gradual work, there is no shame in using the vet or groomer — some dogs need professional handling, and that is fine.
Desensitizing a Nail-Trim-Phobic Dog
For dogs with bad associations, rebuild from zero over 1-2 weeks: Day 1-2, just touch paws and treat. Day 3-4, touch paws with the tool present, treat. Day 5-6, touch the tool to the nail, treat. Day 7+, trim ONE nail, jackpot treat, done. Gradually increase. This seems slow, but it produces a dog who offers their paw willingly — versus a wrestling match every two weeks for the next decade.
Grinders are excellent for desensitization because you can start with the tool just turned on nearby (treat for calm), then touching the body (treat), then one nail for two seconds (jackpot). Pair every step with high-value treats — cheese, hot dog bits, whatever your dog finds irresistible. The ASPCA’s behavior resources cover cooperative-care training in more depth.
Frequency matters more than perfection: trimming a tiny amount weekly beats a dramatic session monthly. And remember that active dogs who get regular walks and exercise naturally wear nails down on pavement, reducing how much you need to trim — another reason a consistent grooming routine pays off for the whole dog, not just the nails.
Conclusion
Black nails are trimmable at home: take thin slices, watch the cross-section for the dark dot that signals the quick, stop there, and keep styptic powder handy for the occasional nick. Use a grinder if you want maximum forgiveness, desensitize nervous dogs gradually, and trim little and often. In a month, you will wonder why this ever scared you.
Frequently Asked Questions
How can you tell where the quick is in black dog nails?
Trim in thin slices and watch the cross-section: when a small dark dot appears in the center of the cut surface, you are at the quick — stop. The nail will show whitish-gray before that point.
What happens if you cut a dog’s nail too short?
The quick bleeds — it looks dramatic but is rarely dangerous. Apply styptic powder with pressure for 10-15 seconds and it stops. Stay calm so your dog does not develop lasting fear.
Is it better to clip or grind black dog nails?
Grinders are safer for black nails because they remove tiny amounts gradually, making it very hard to hit the quick. Clippers are faster but require more skill on dark nails. Nervous owners should start with a grinder.
How often should I trim my dog’s black nails?
Every 1-2 weeks. Frequent small trims cause the quick to recede, letting you maintain shorter nails. If you can hear nails clicking on hard floors, they are overdue.
Can I use human nail clippers on my dog?
Only for very small dogs, and even then dog-specific clippers are better. Human clippers crush larger nails rather than cutting cleanly, which is painful and can splinter the nail.